March 13, 2018 Snowmelt – Step By Step
Snowmelt Explained – Step By Step
As TJ’s embarks on our newest snowmelt project, we wanted to take the time to share with you each step, as the project progresses. Winters in New England can be unpredictable, often bringing brutally cold temperatures and large amounts of snow. Snowmelt is one option to free yourself from having to go out and perform snow removal duties yourself. It can also provide safer walkways, to eliminate falls on frozen surfaces. With a properly designed and installed snowmelt system, your driveway and/or walkways will remain free of snow and ice throughout the winter.
We won’t try to tell you that a snowmelt system is inexpensive to install, or to run. There are pros and cons that each homeowner should consider. TJ’s has designed and installed many snowmelt systems and can help you decide if this is the right decision for you, by providing you with our insight and experience.
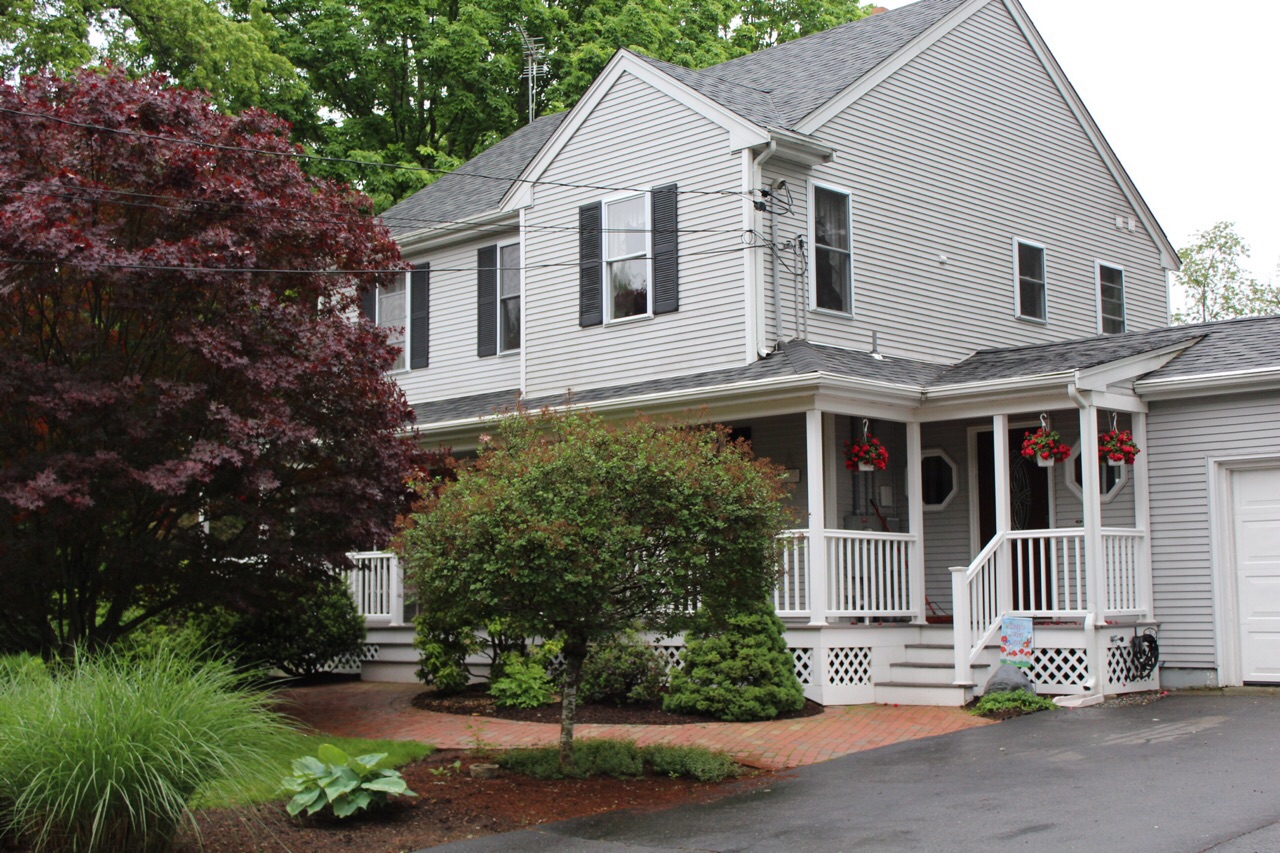
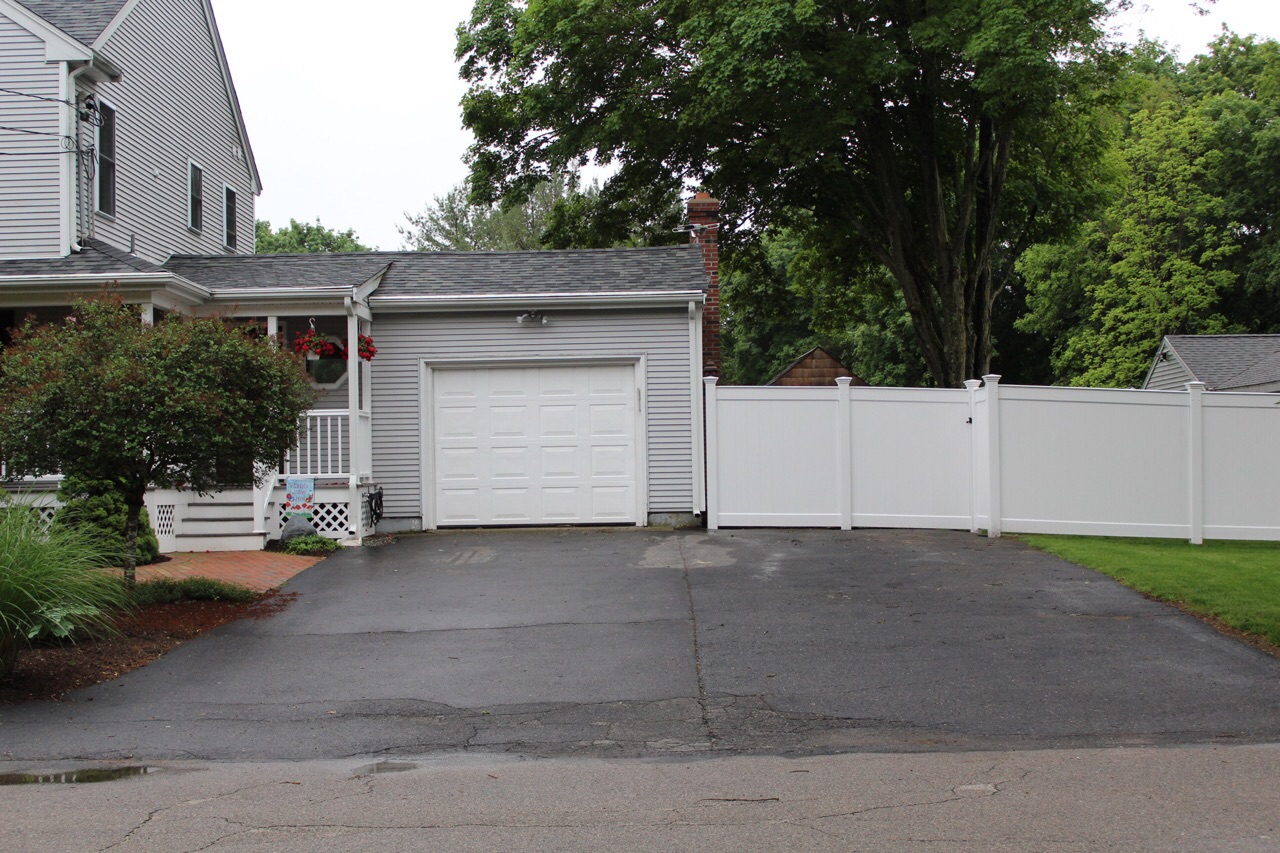
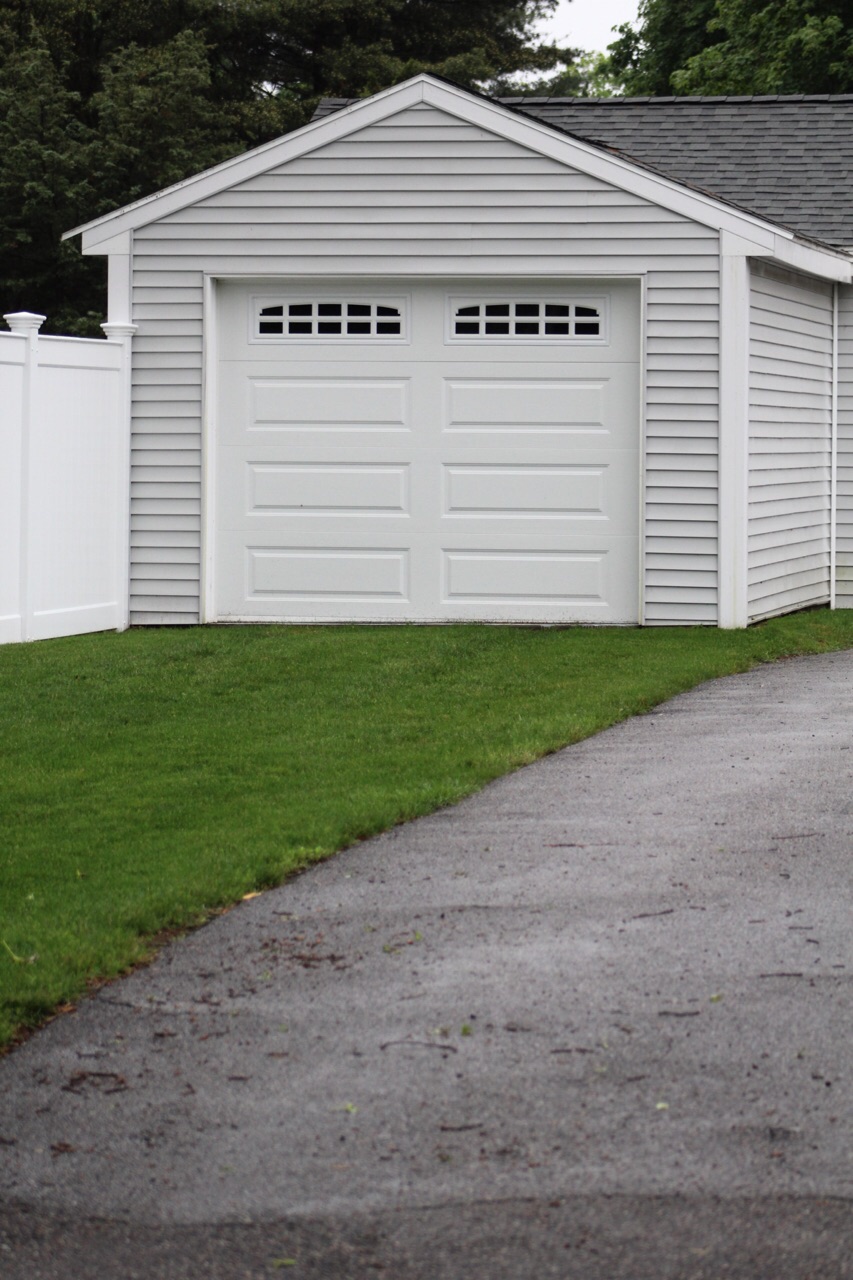
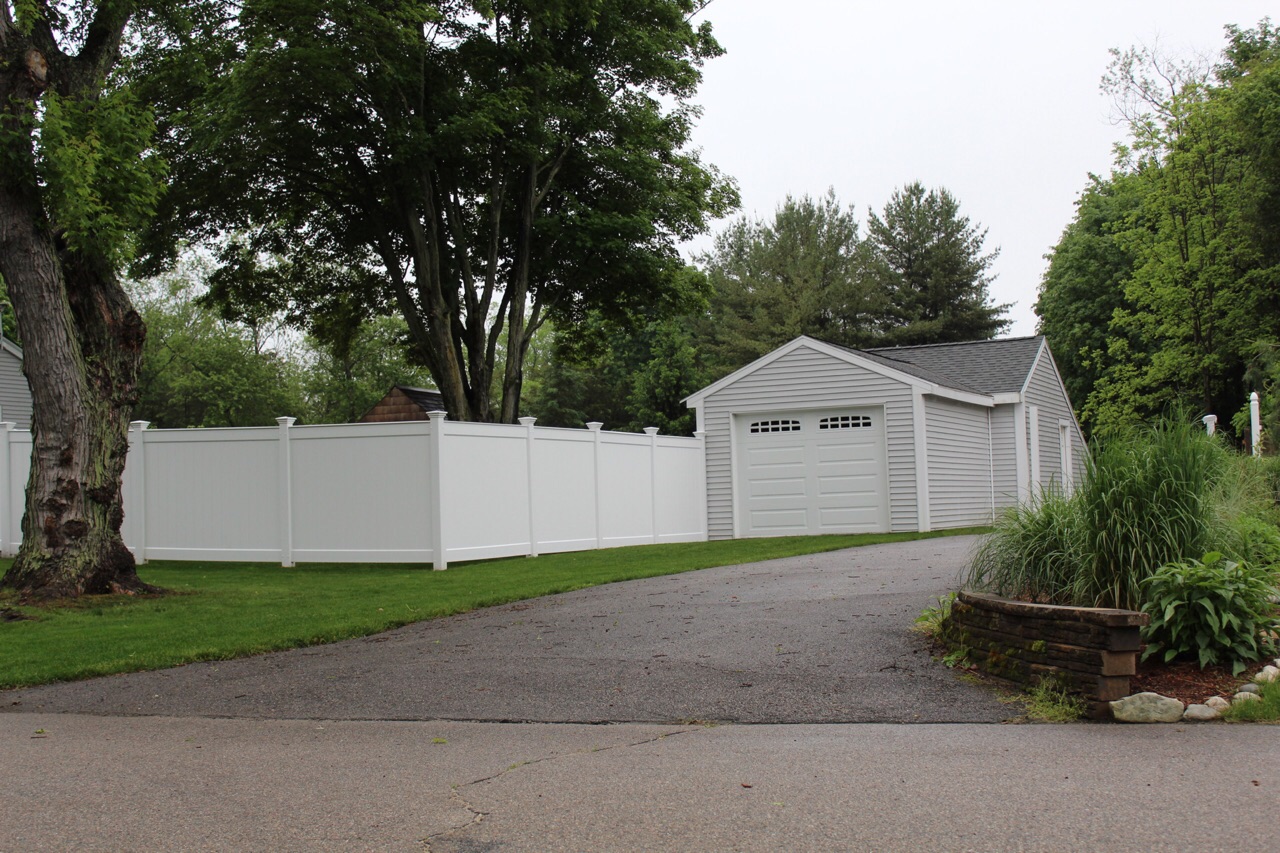
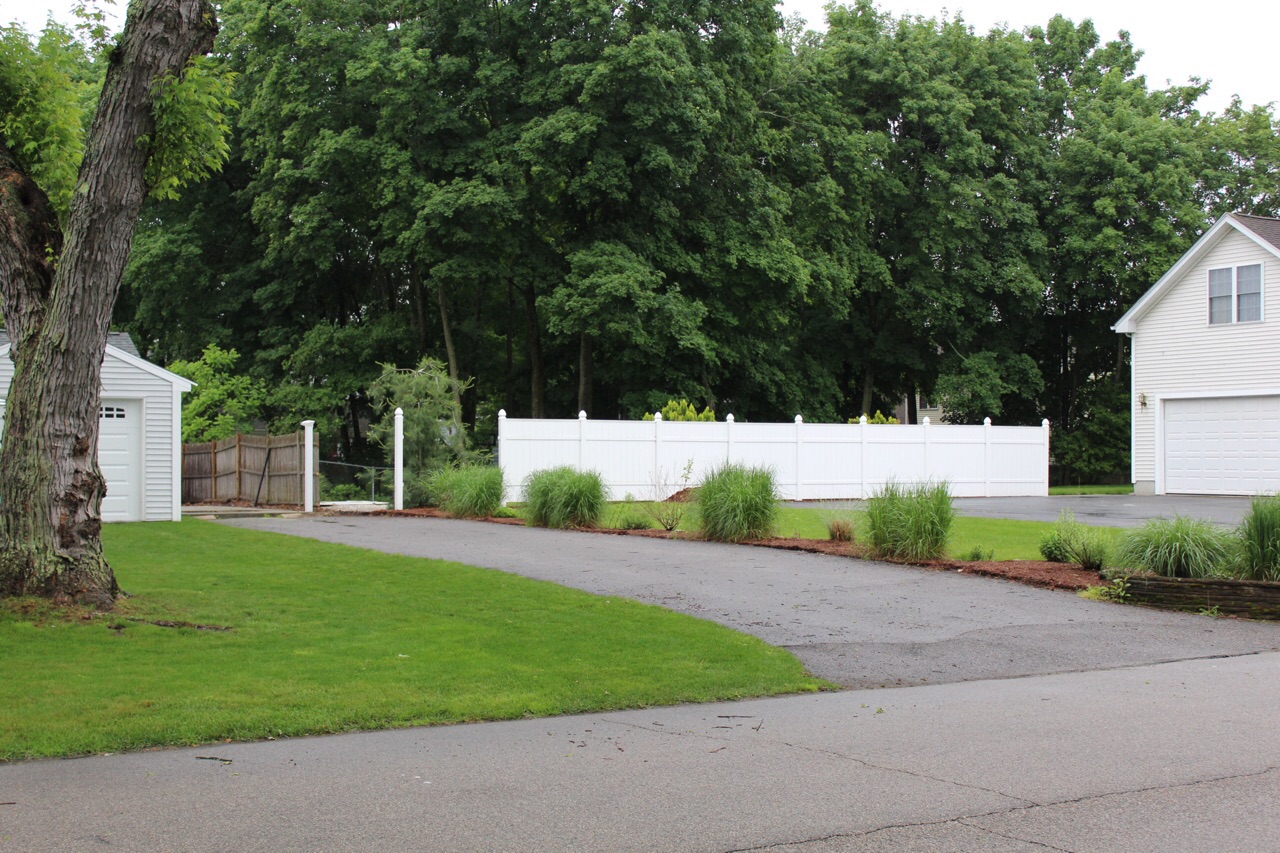
Our latest project features two driveways, and one brick walkway, on the property. Both driveways were originally asphalt and were deteriorating. The walkway gets very slippery and has been the cause of several falls. Since the driveways were in need of replacing, the owners decided to add snowmelt to both driveways, topped with a beautiful cobblestone finish. They also wanted to add snowmelt to a section of the walkway, with the original bricks being re-installed over the snowmelt.
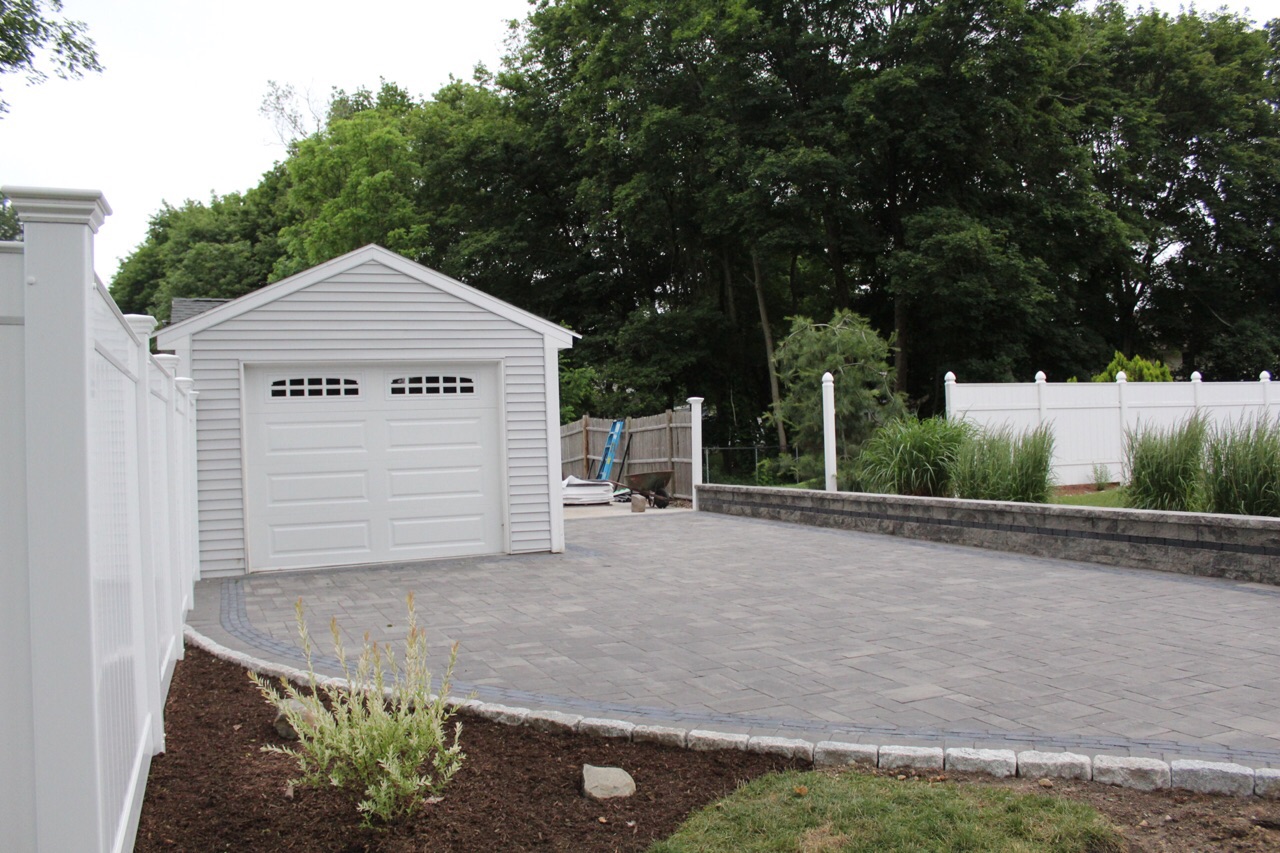
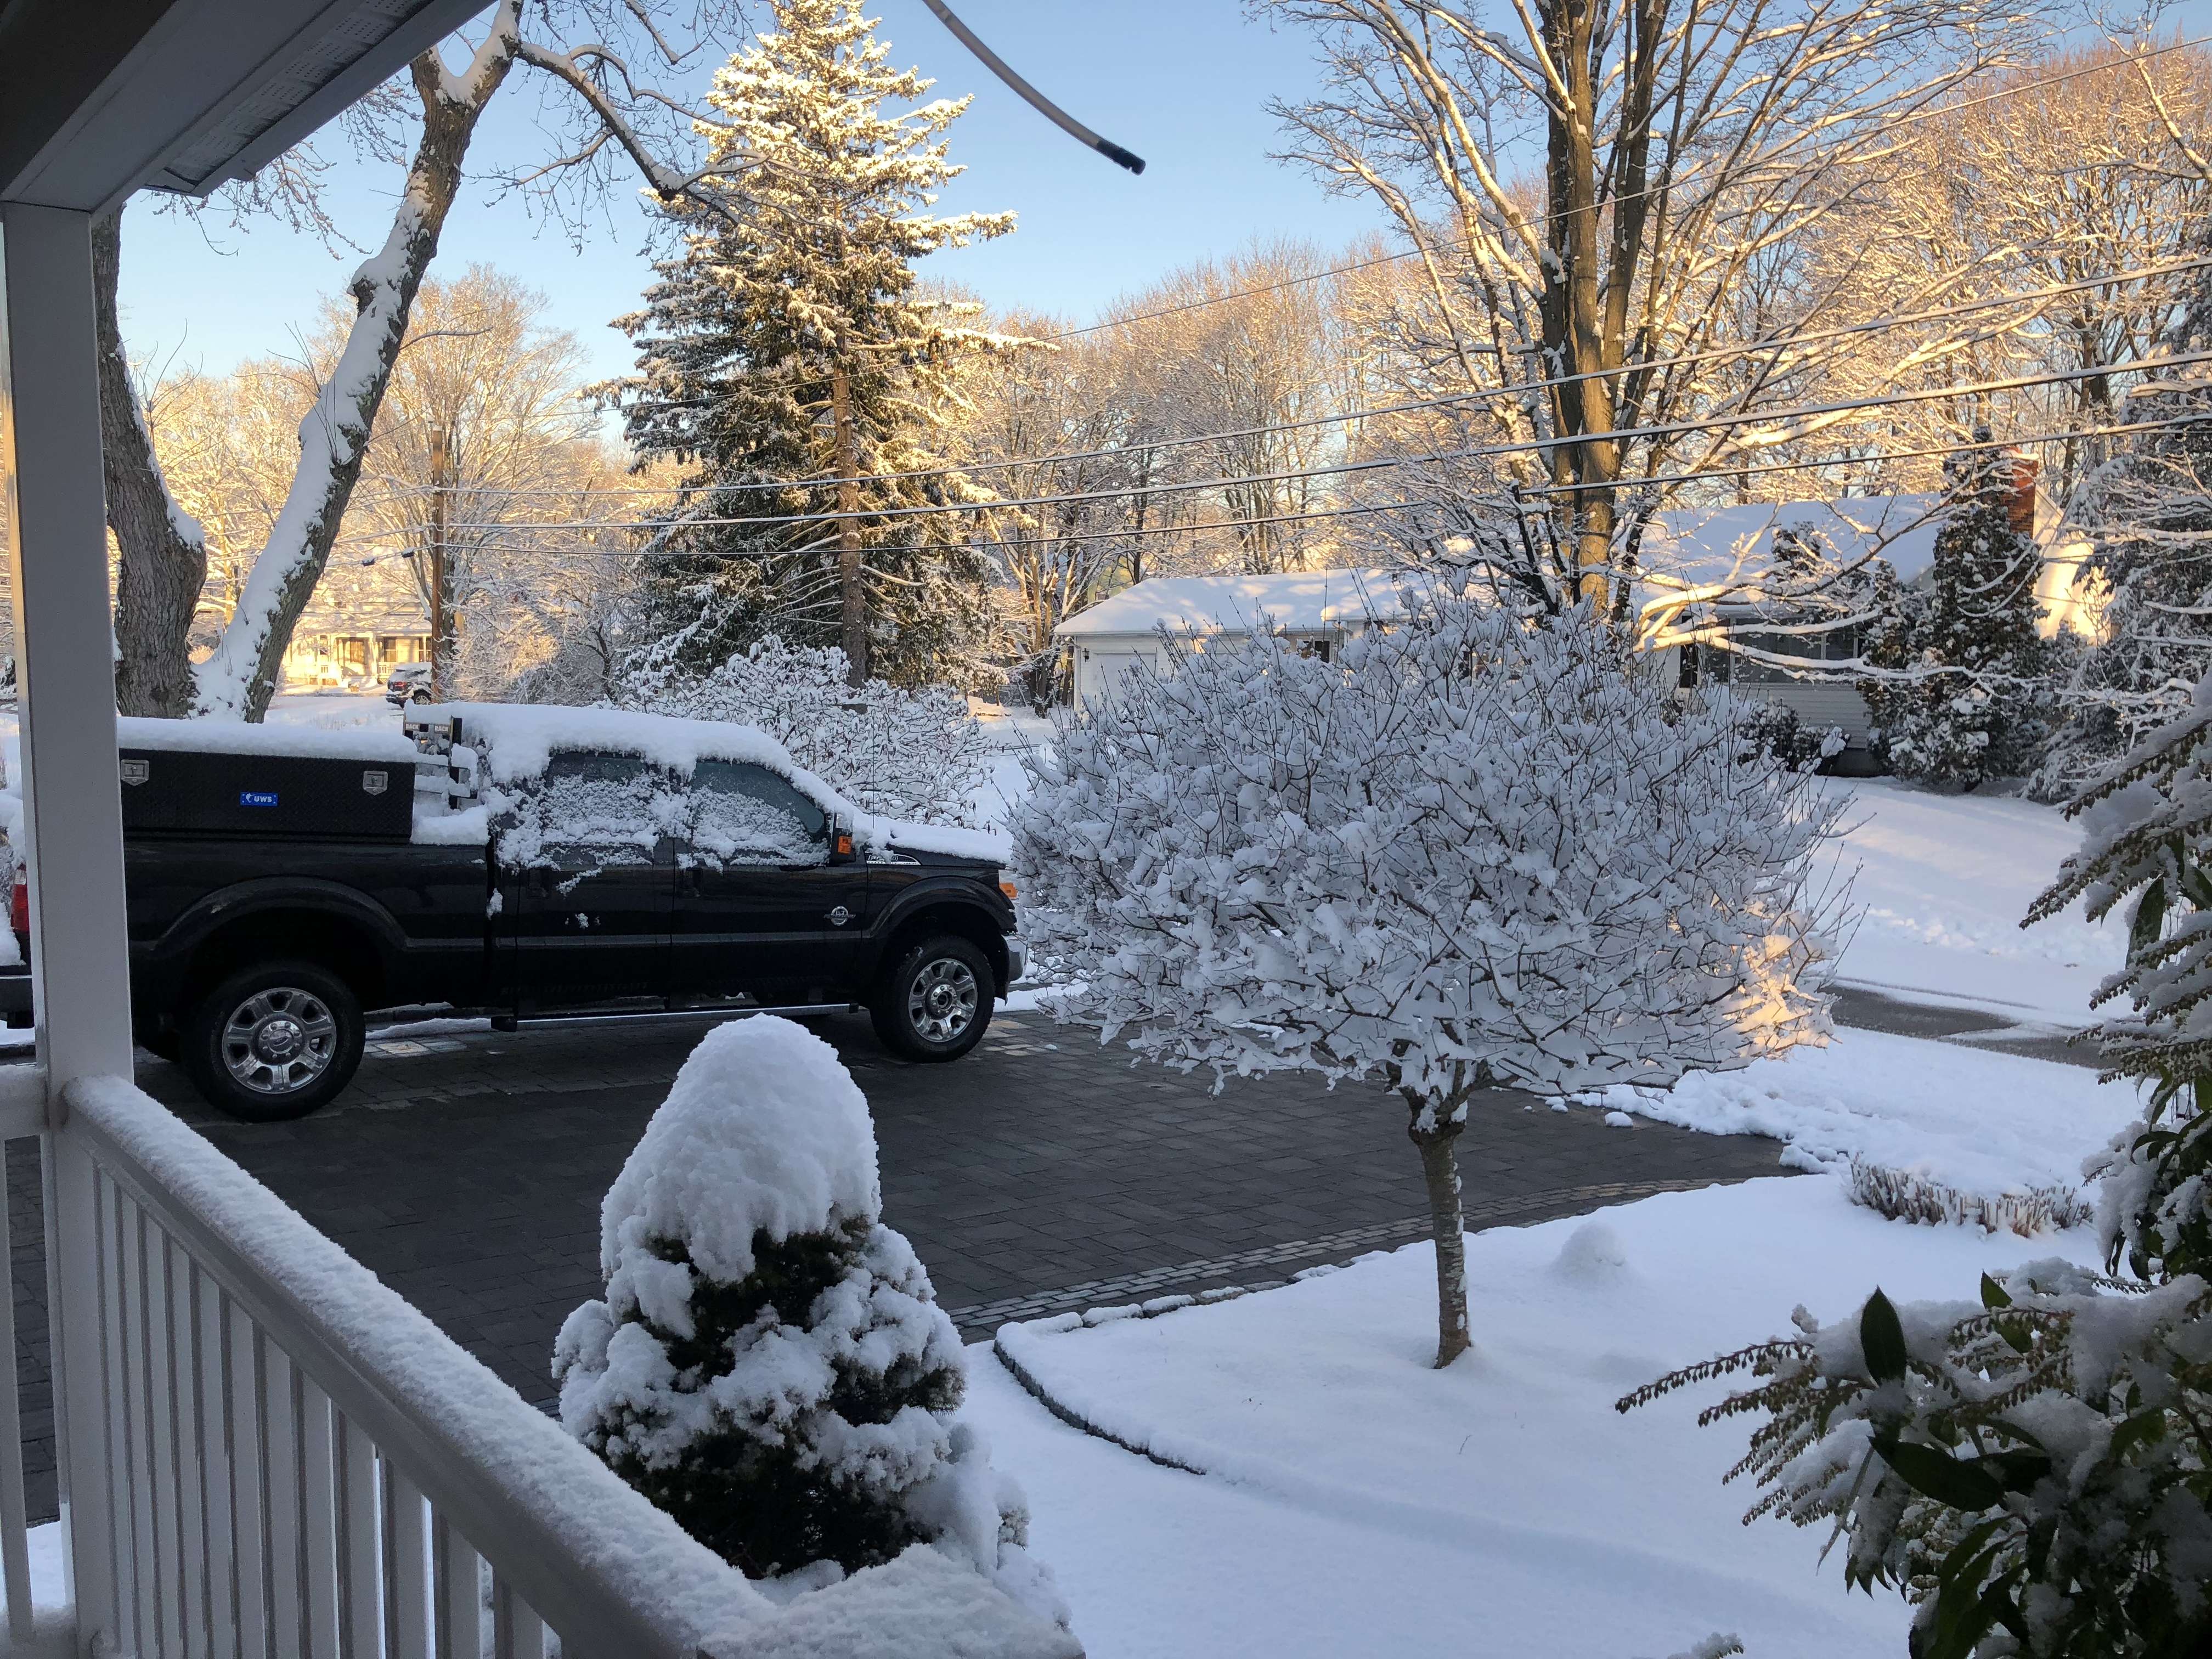
Before Photos
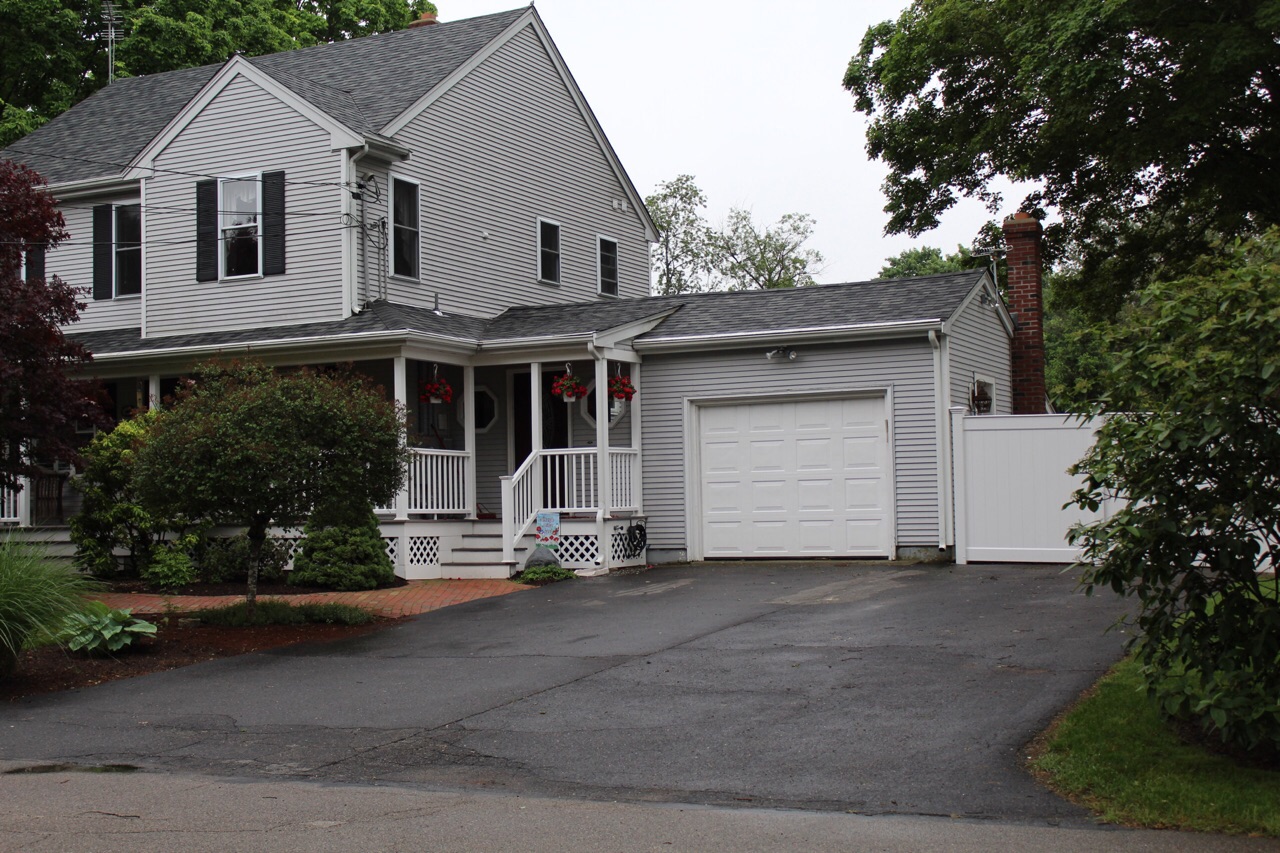
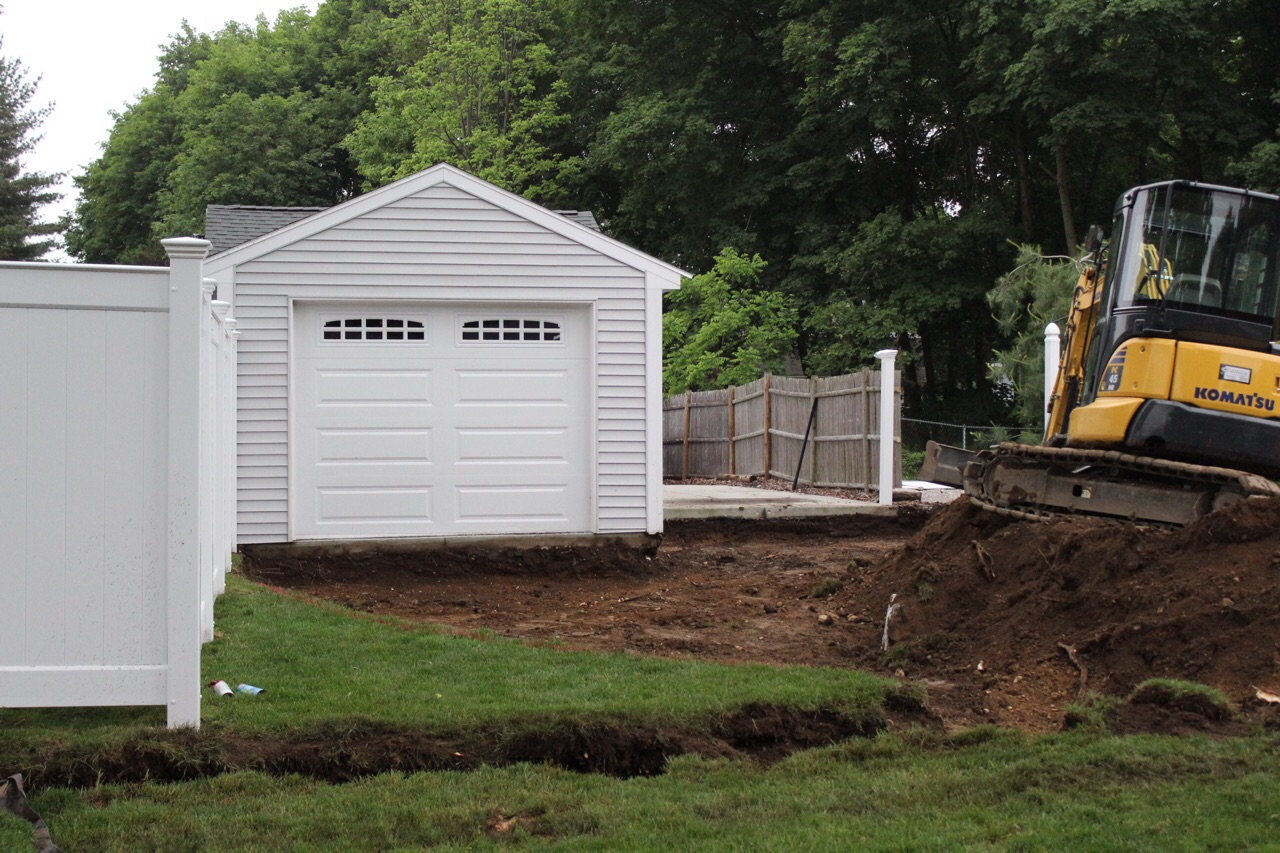
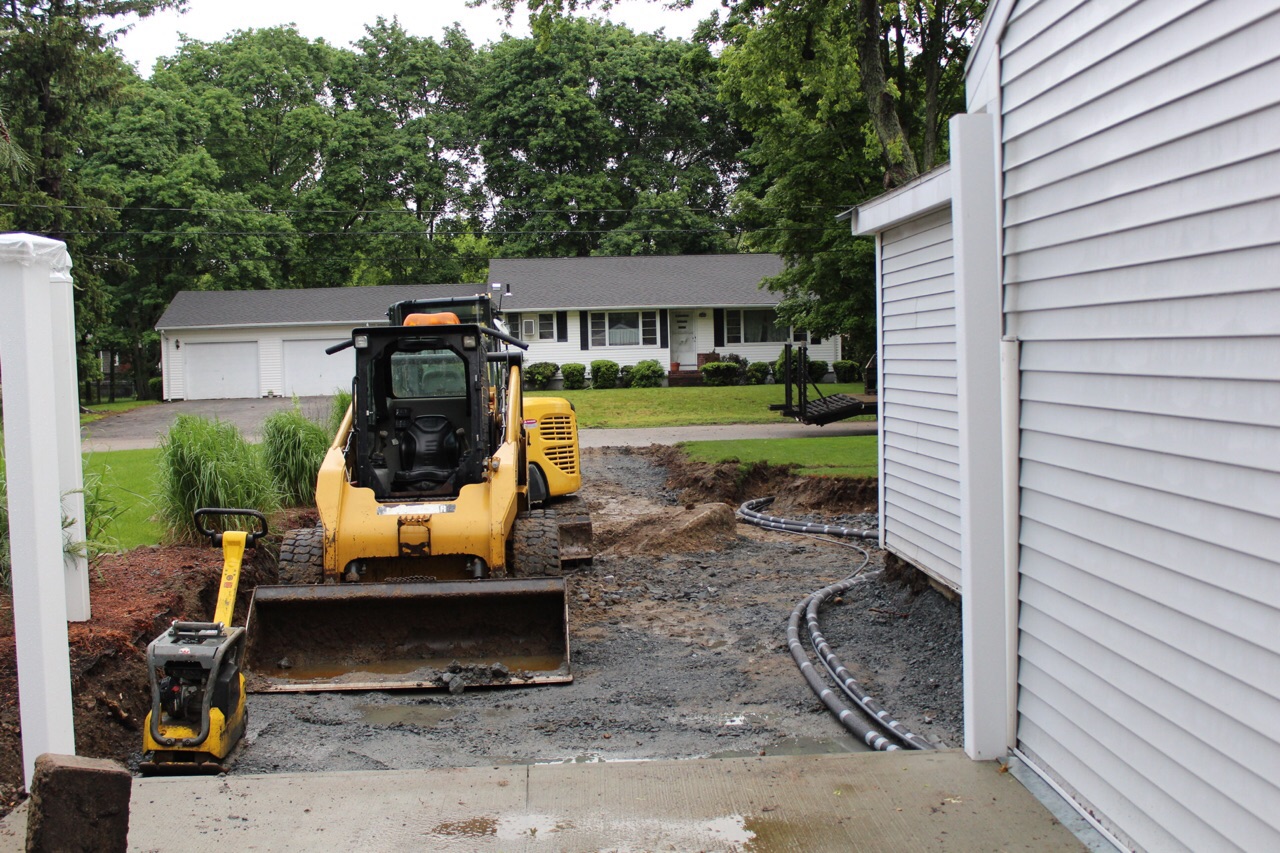
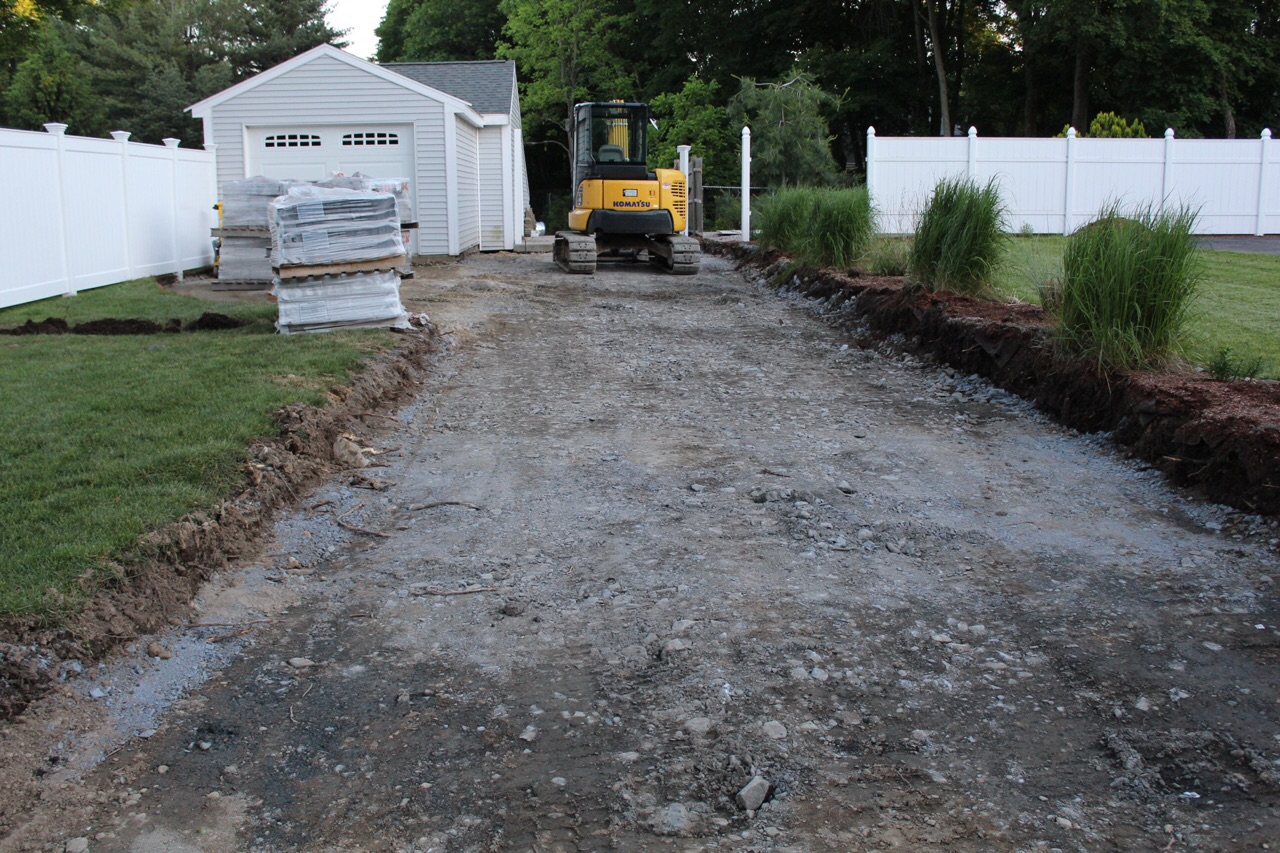
Day 1 – Demo Begins on Second Driveway
Asphalt was removed from the second driveway, as well as the grass in front of the garage. Loom was removed to prepare for the driveway base.
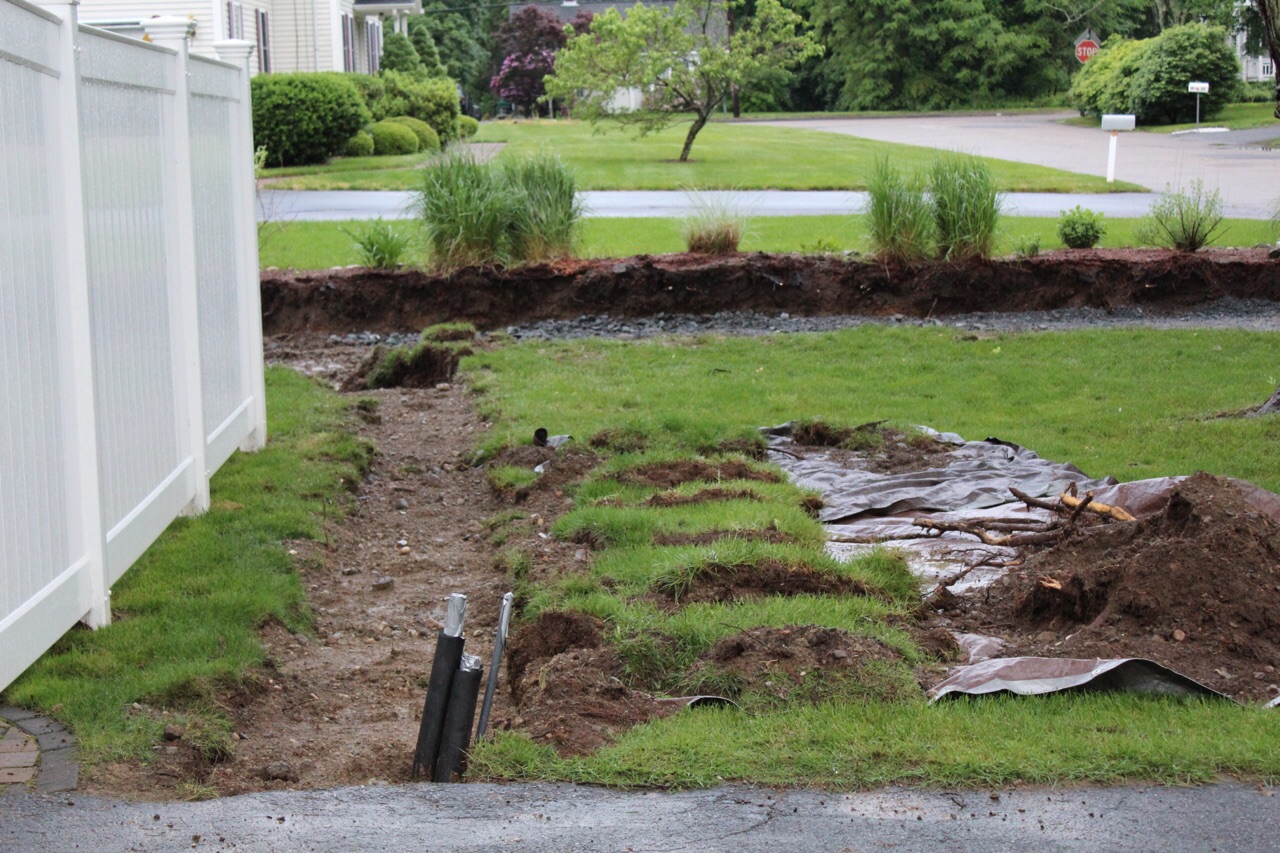
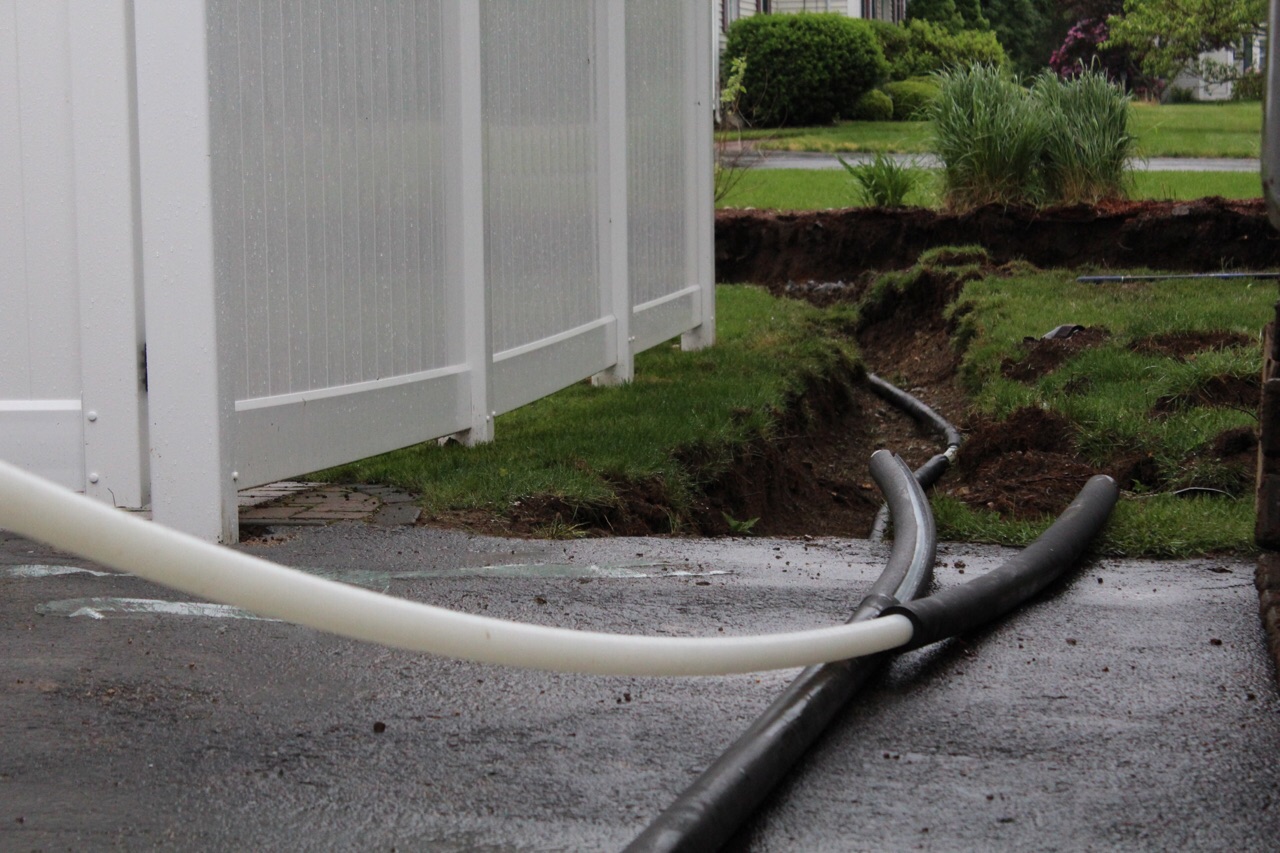
The trench between the two driveways was prepared for the snowmelt tubing that will connect one driveway to the other. The main driveway will terminate at the Aquatherm manifold, which will be buried into the landscaping. It will be easily accessed; but, hidden from view. The second driveway will terminate into a Viega stainless steel manifold, which will be mounted inside the existing wood shop.

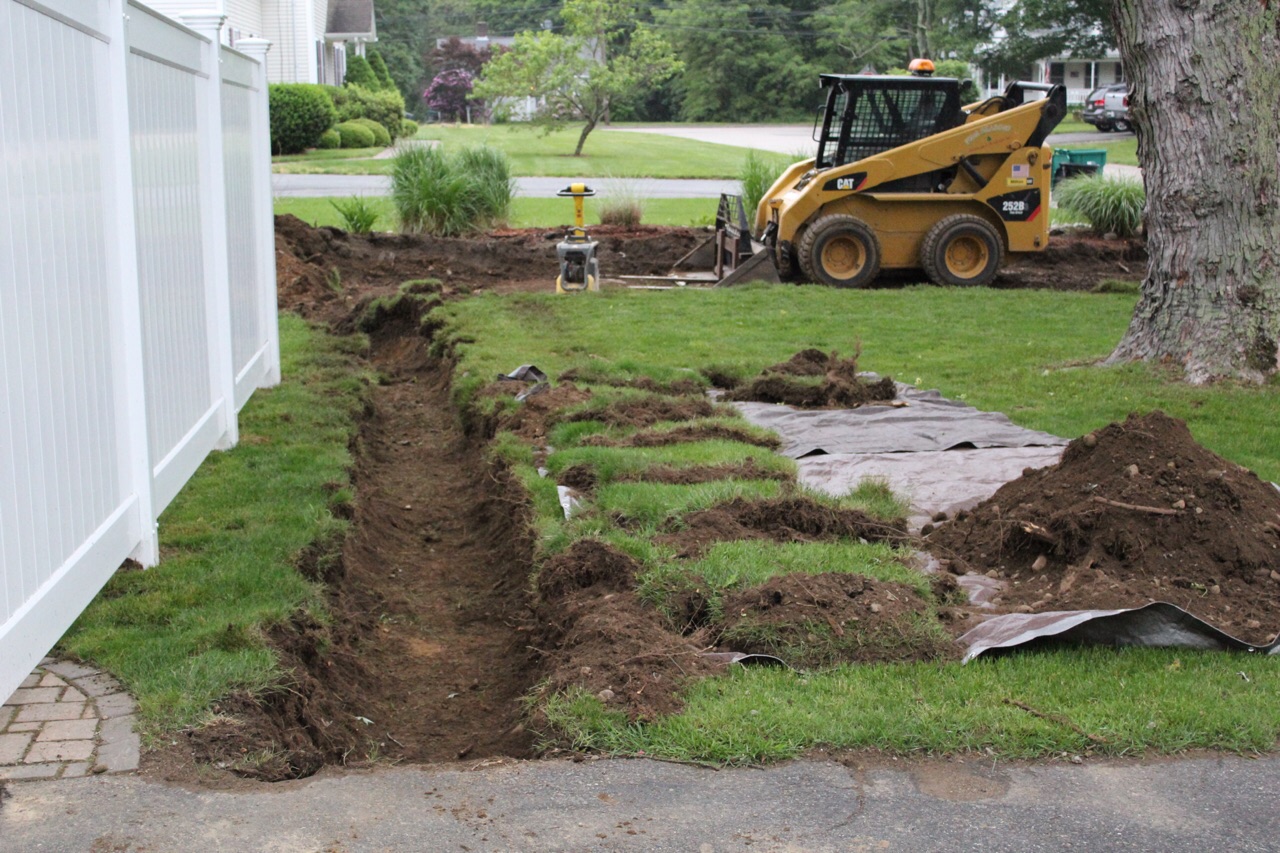
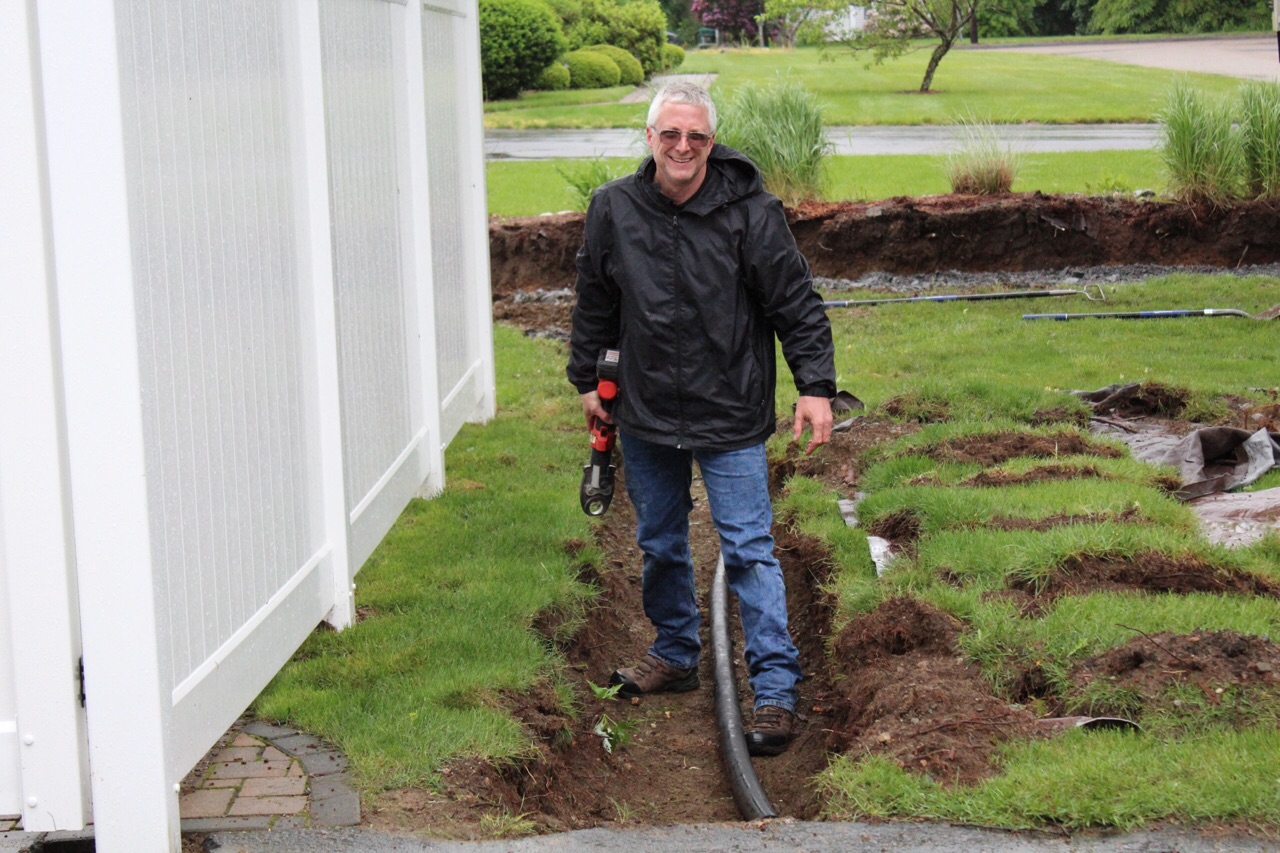
Day 2 – Snowmelt Tubing for Manifolds Installed
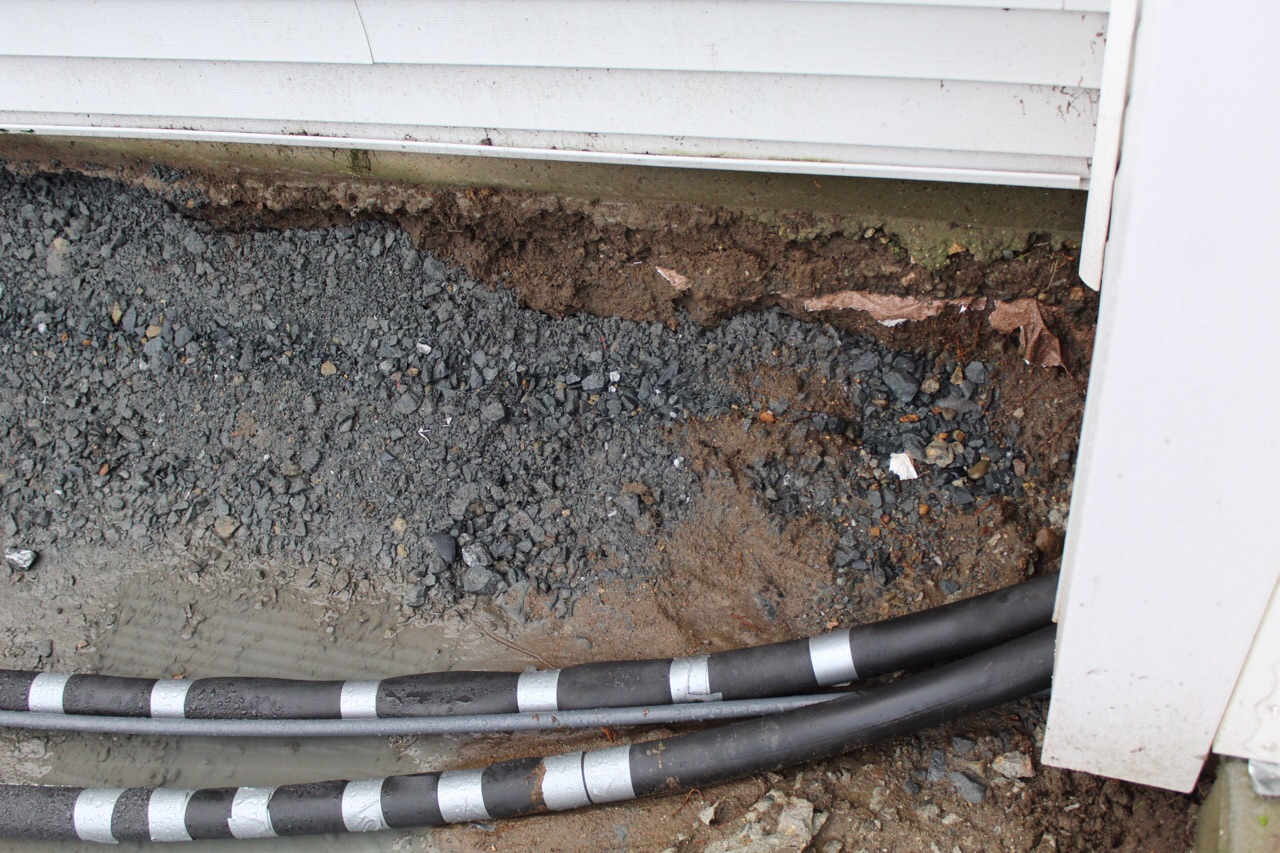
The remainder of the loom was removed today and a layer of gravel laid down. You never know what you are going to find when you start digging up an old driveway. The asphalt contractor who installed this particular driveway laid it over loom and it did not have a stable base. The driveway will now have a good solid base for support.
All of the tubing has been installed into the trench, and up the second driveway, to prepare for the manifold tie-ins and connection to the main tubing in the driveway. The trench was backfilled with loom to prepare for sod and seed, or a new garden.


Day 3 – Grading Continues
Grading continues in the second driveway to prepare for the stone wall and installation of snowmelt tubing.
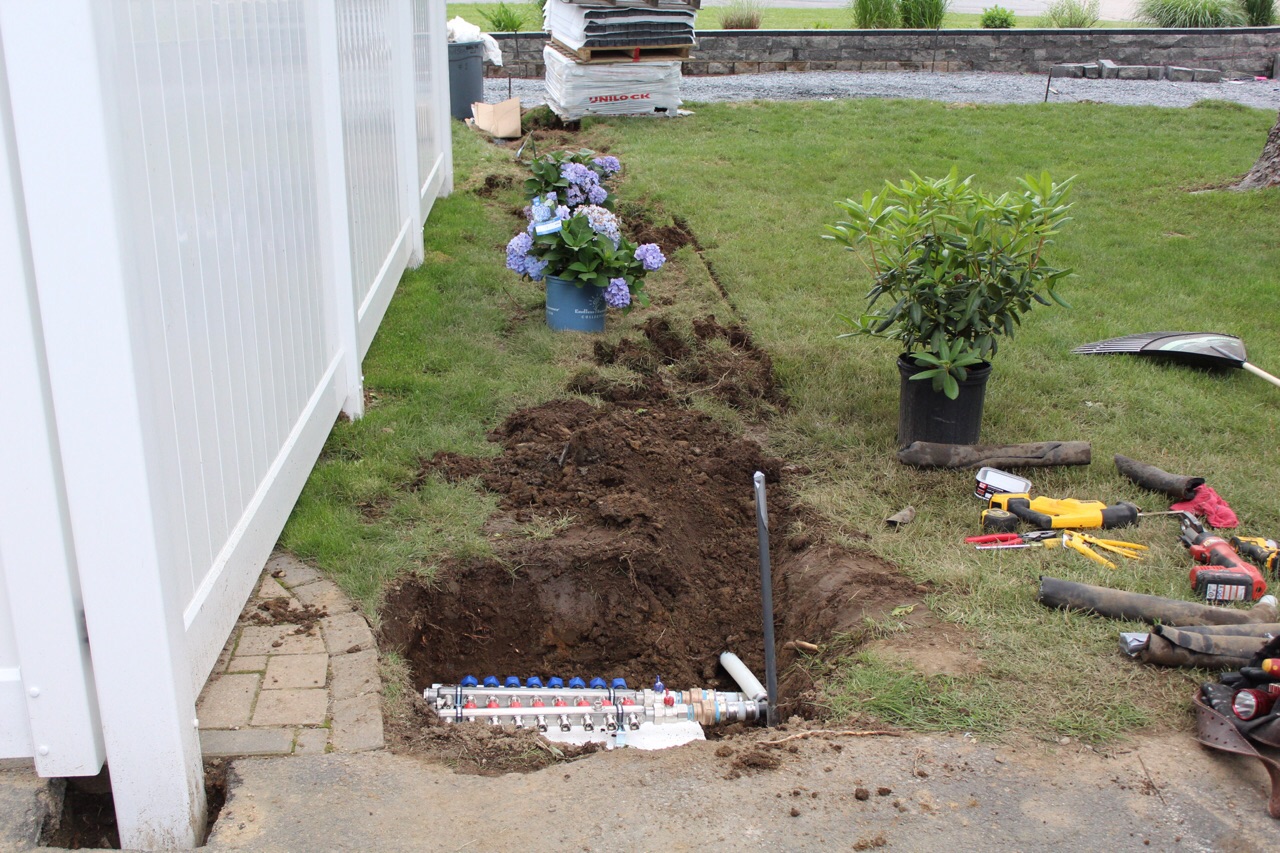
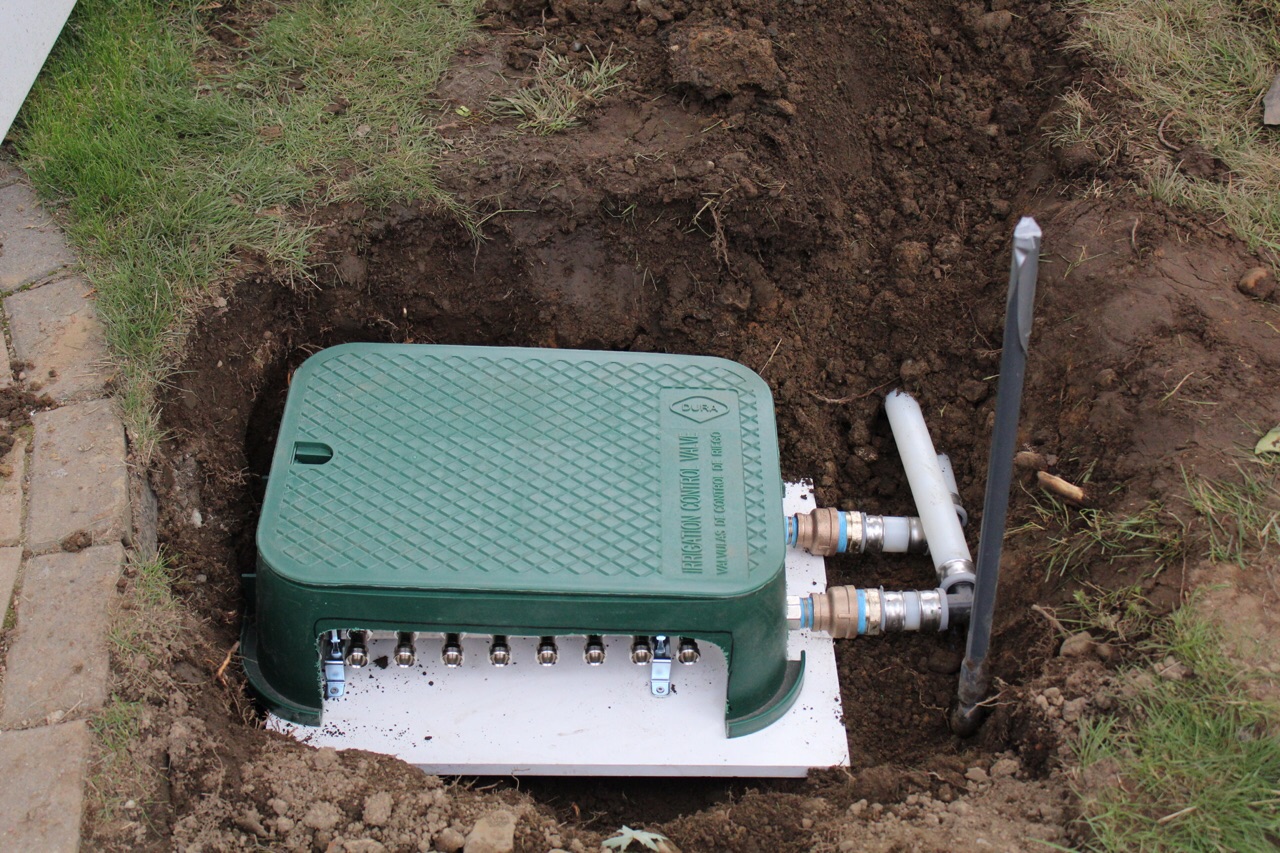
A hole was started for the placement of the Viega stainless steel manifold. It was decided that a garden would be placed where the trench had been dug. The garden will work to hide the underground manifold; but, allow easy access for serviceability.

Day 4 – Estate Wall Started, Manifold Piped and Box Set
The estate wall, which will border one side of the driveway, was started today.
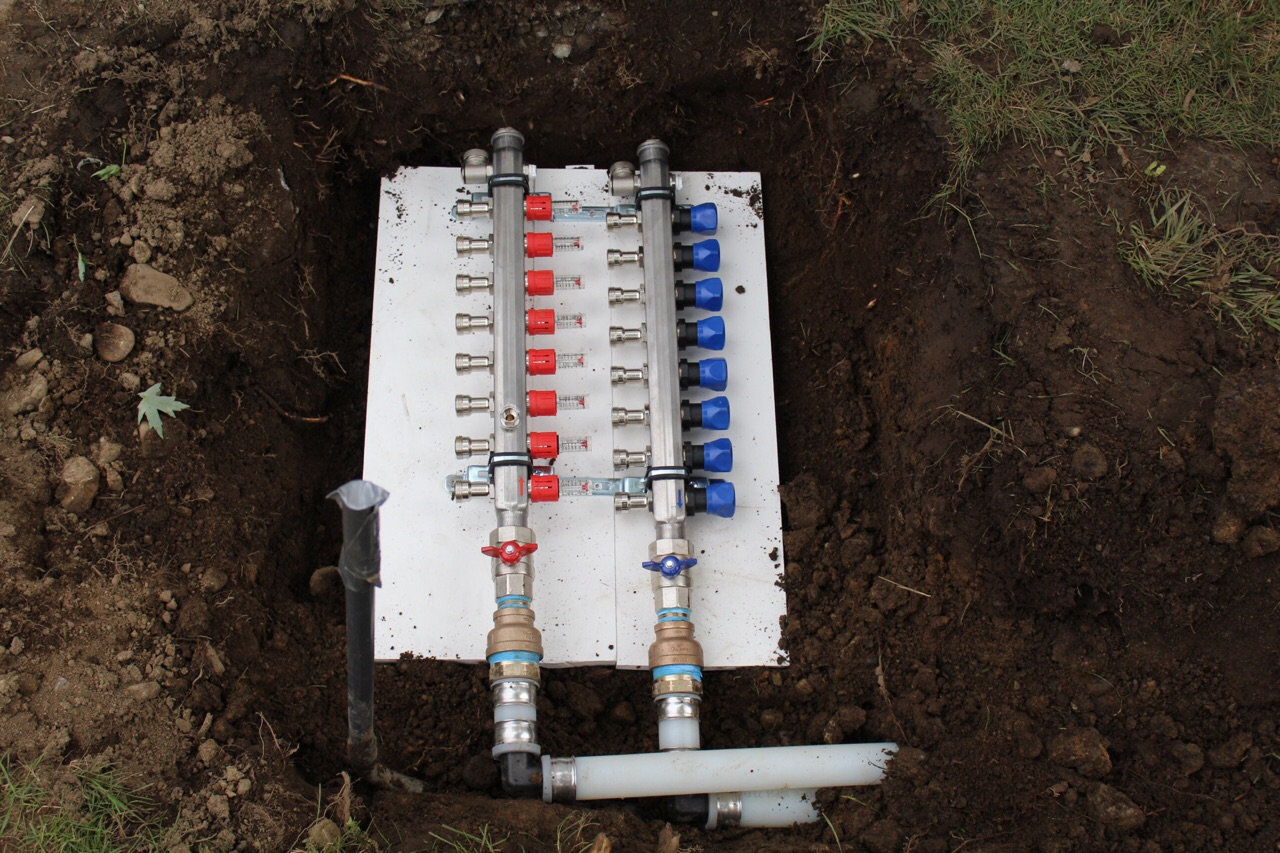
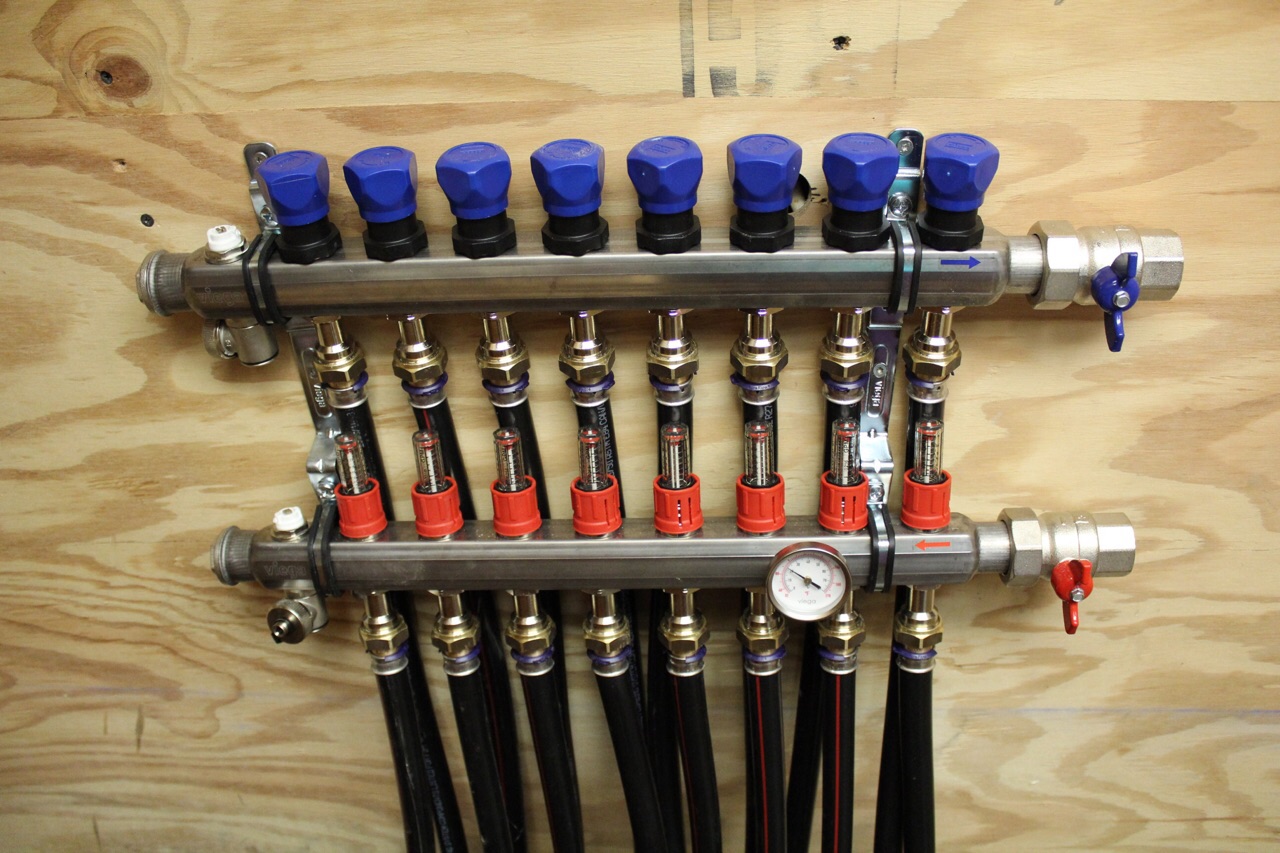
The Viega stainless steel manifold was piped and set into the ground. The supply lines that run to the manifold are 1 1/2″ Wirsbo. The supply lines are sized to deliver the appropriate gallons per minute for the driveway. The size of the pipe keeps the circulator pumps small, using minimal electricity. Electricity at the home is supplied by PV solar with a Sonnen intelligent battery backup storage system.

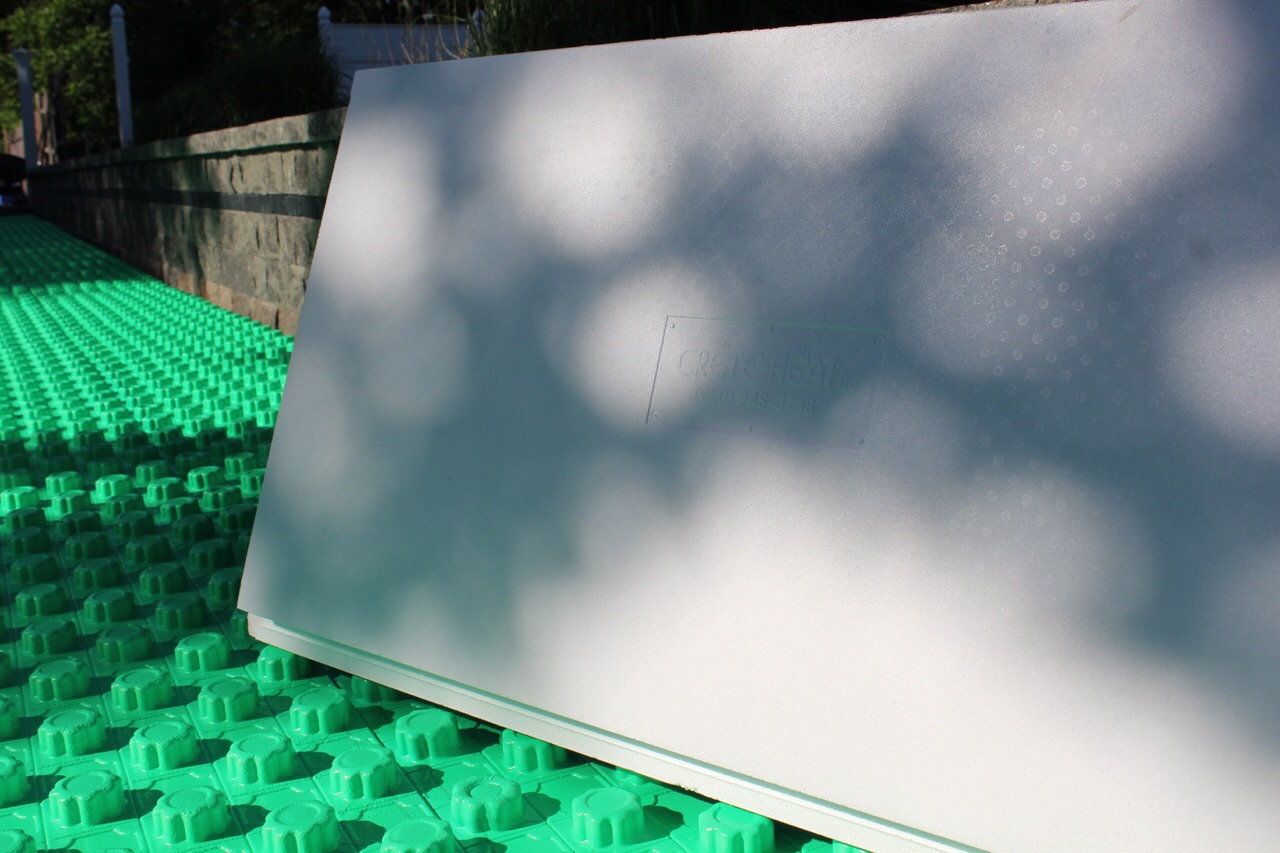
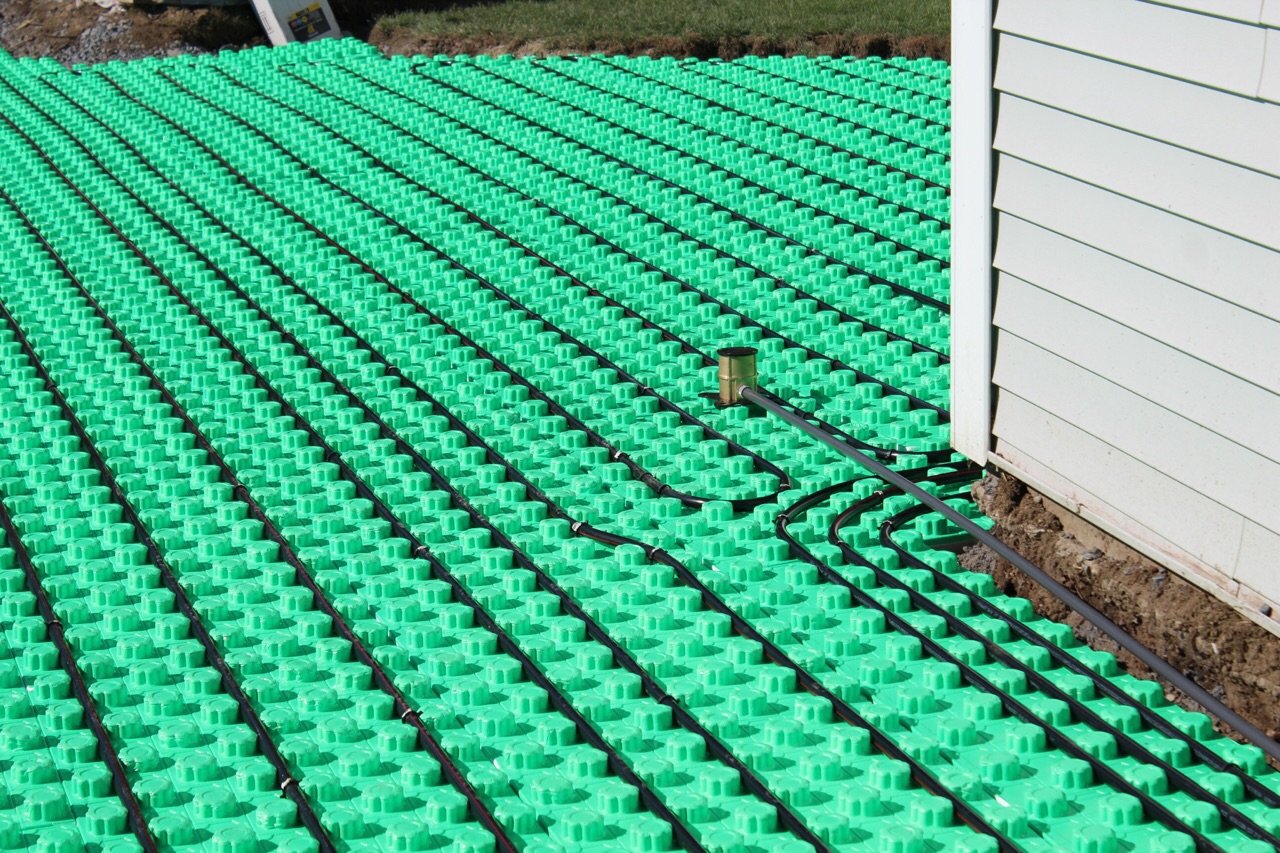
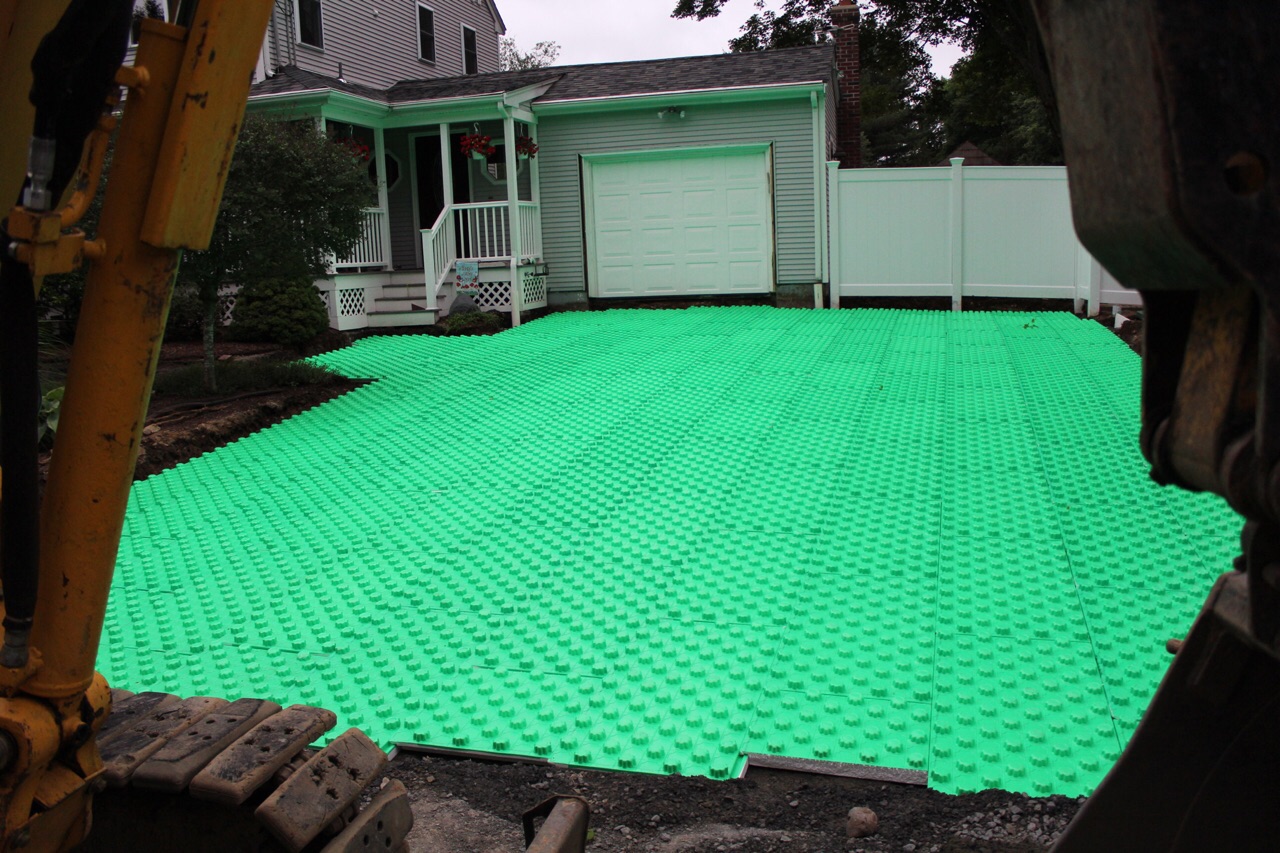
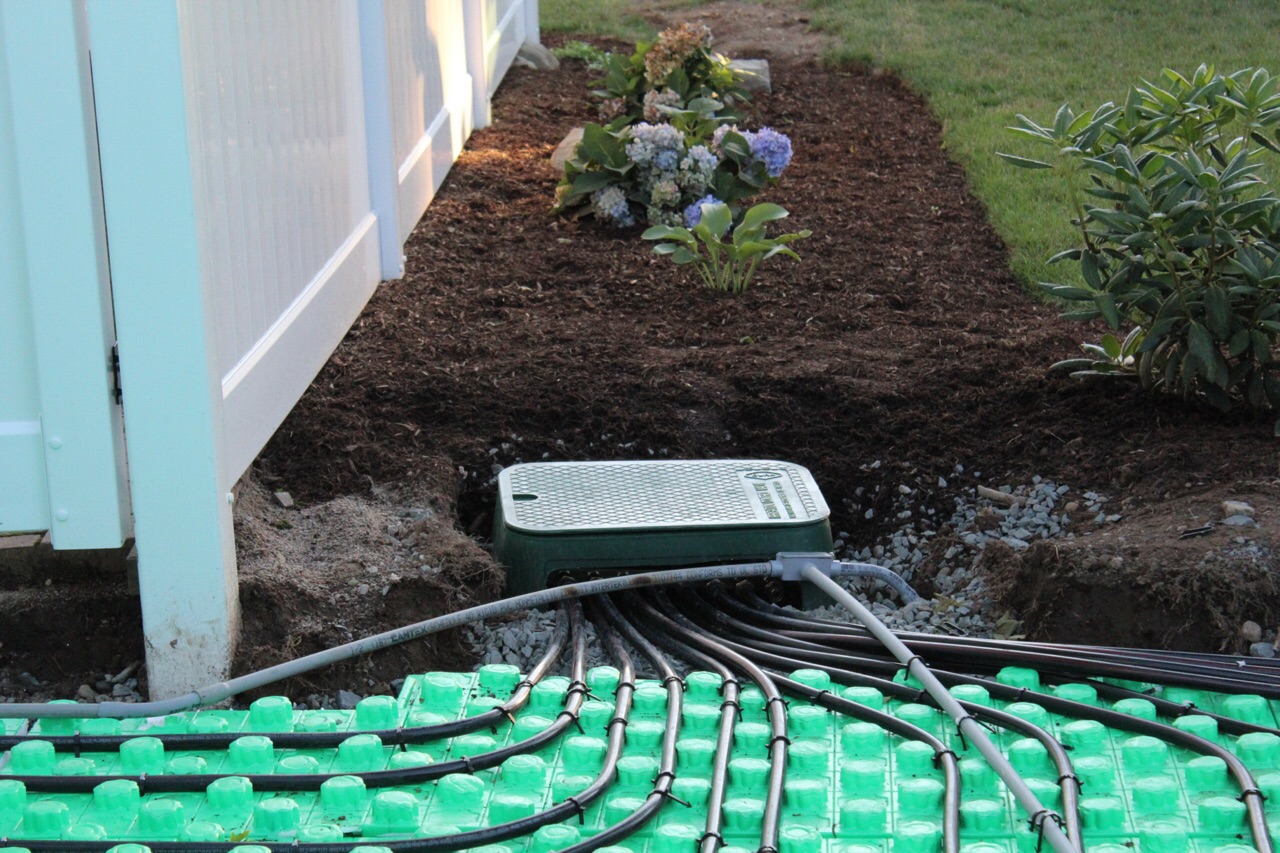
Day 5 – Snowmelt System Intallation
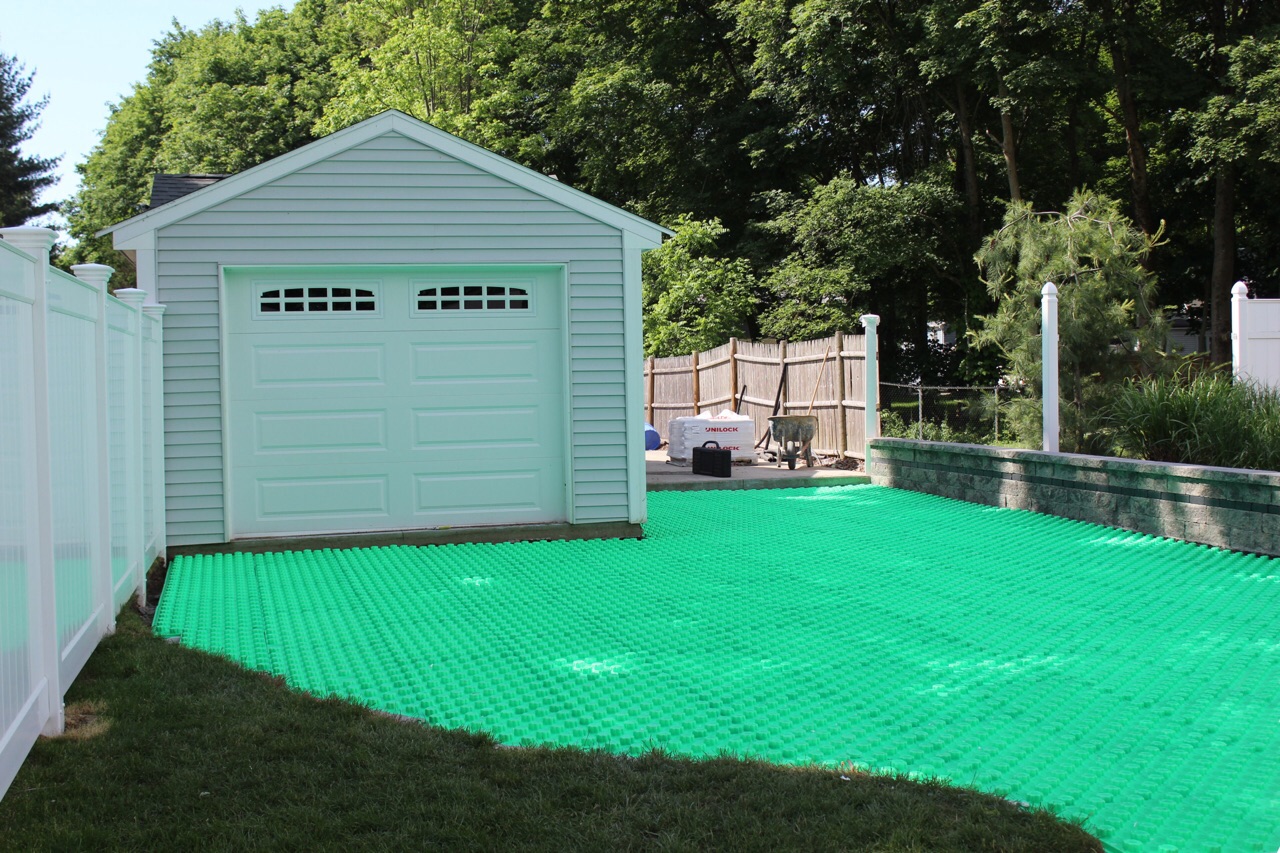
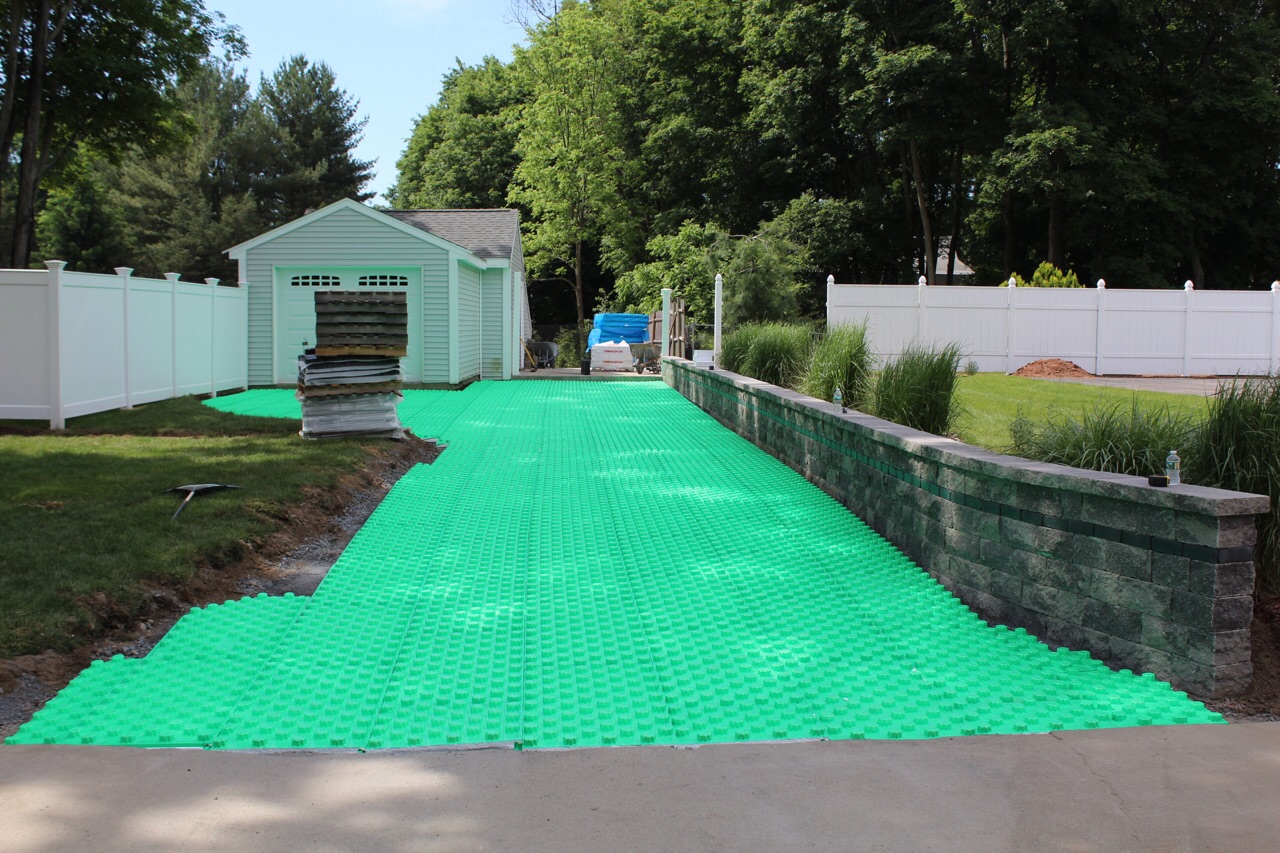
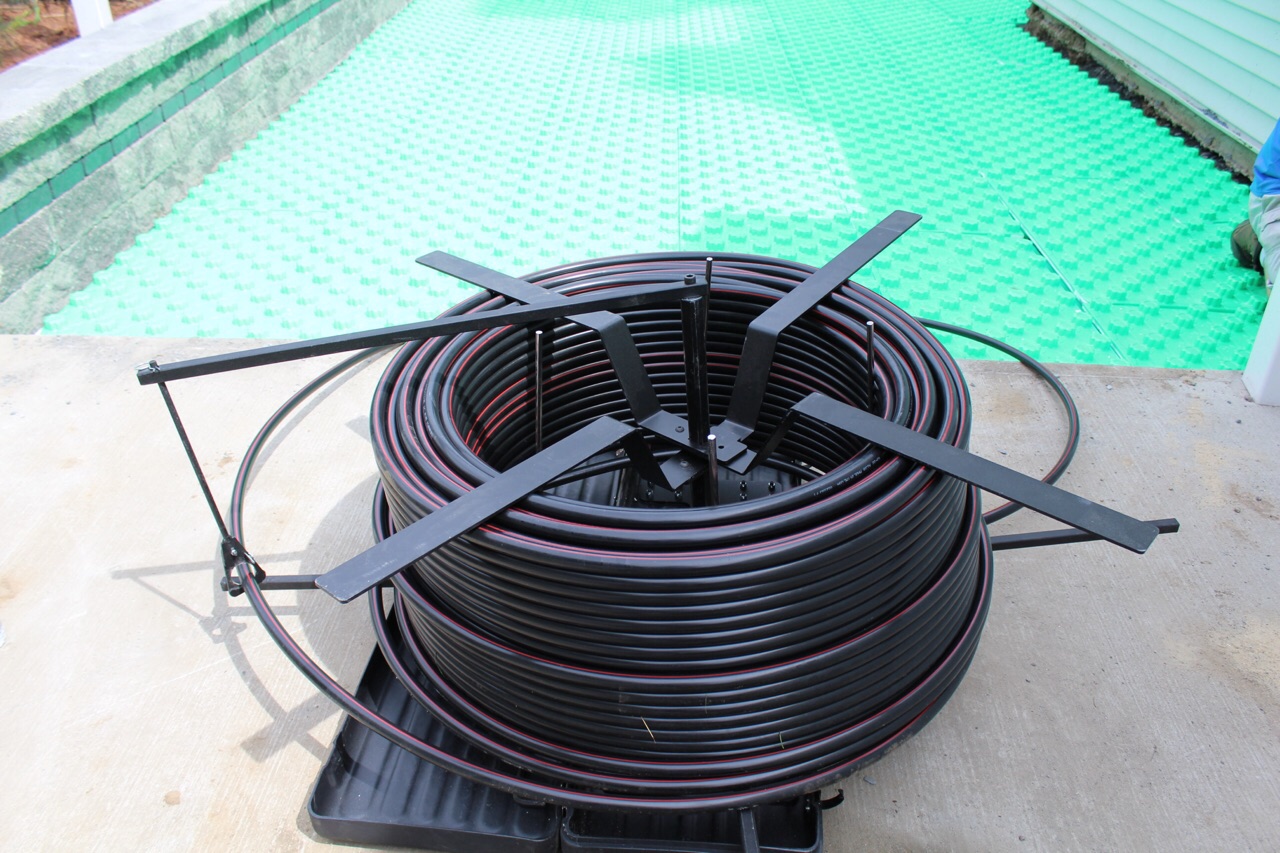
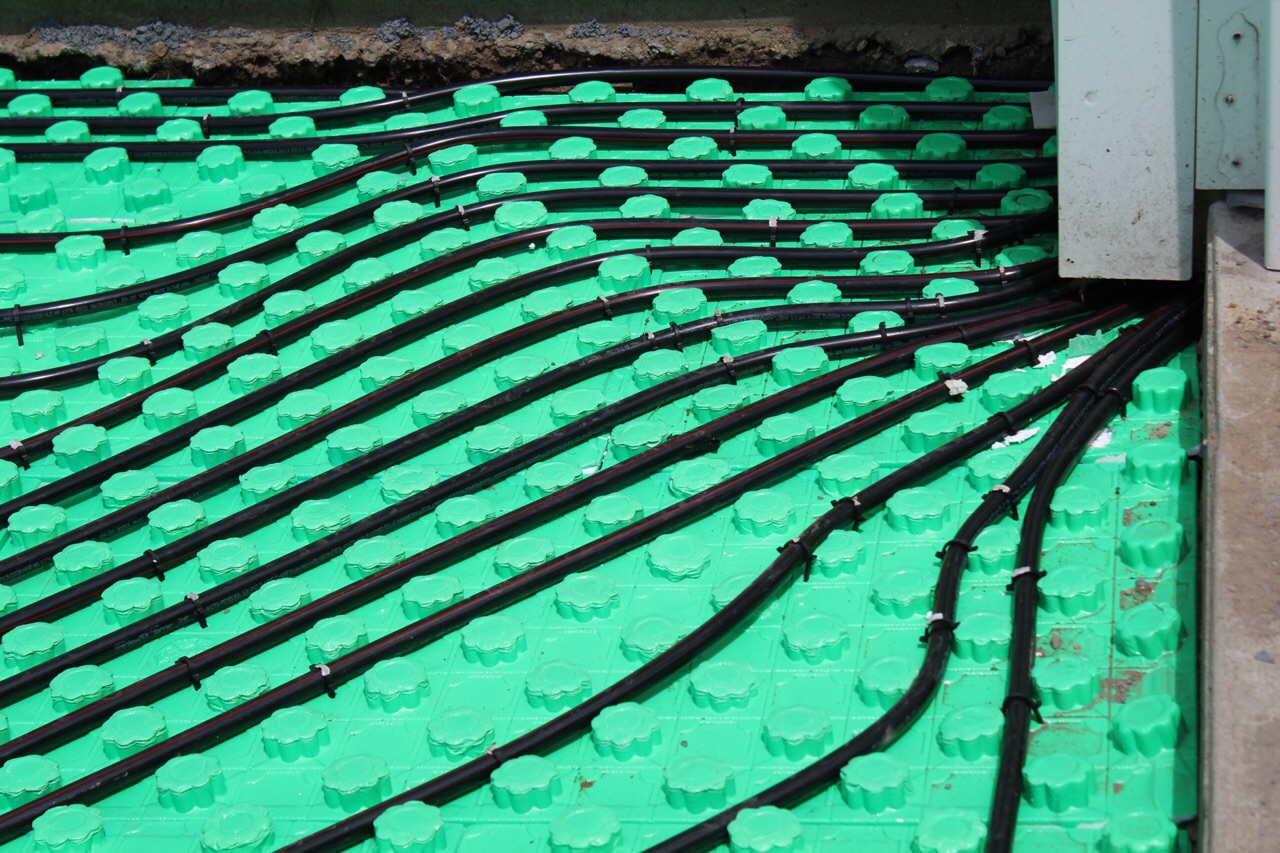
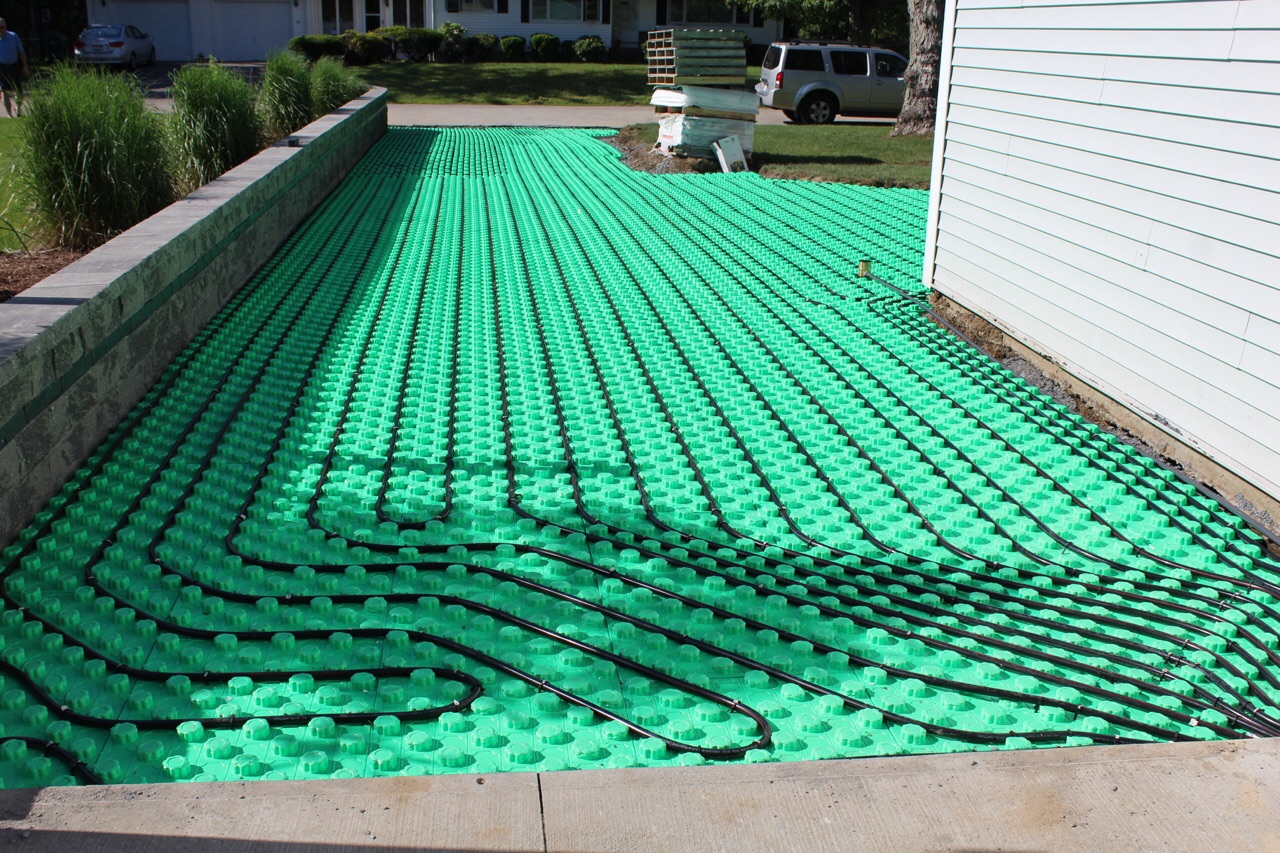
Grading was completed today. Once the grade was verified, the Crete Heat panels were laid out in the driveway. High-density Crete Heat insulated panels were used to ensure they could withstand the weight of vehicles driving on the finished product. The insulated panels are 2-inches thick and have a compressive resistance of 25 psi or 3600 psf.
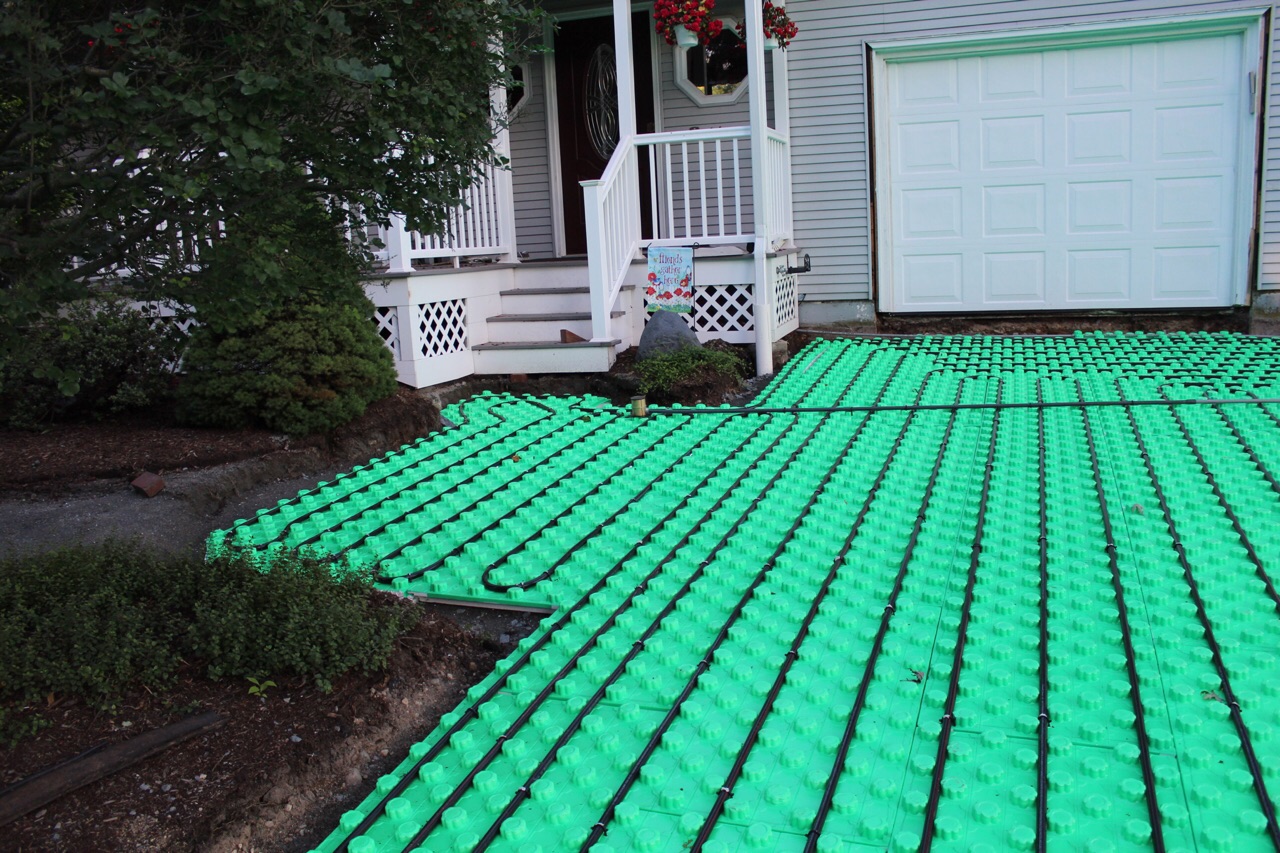
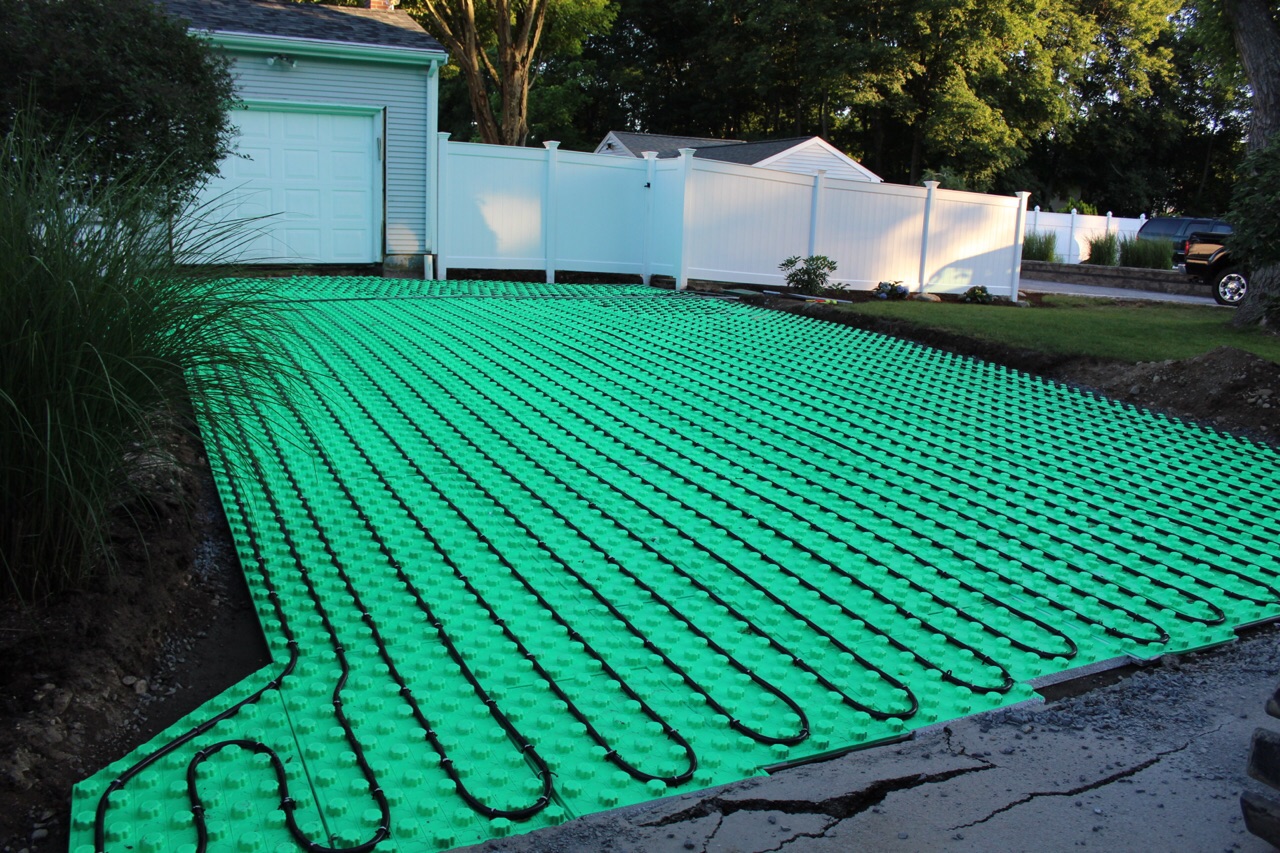
Once all of the Crete Heat was completely installed, 3/4-inch Viega tubing was installed. All supply and return connections were brought into the Viega stainless-steel manifold, installed in the wood shop.
The entire system was tested to ensure it held at 80 pounds.
A Tekmar moisture and temperature sensor housing was installed in the driveway. The actual sensor will be installed once the driveway is complete.


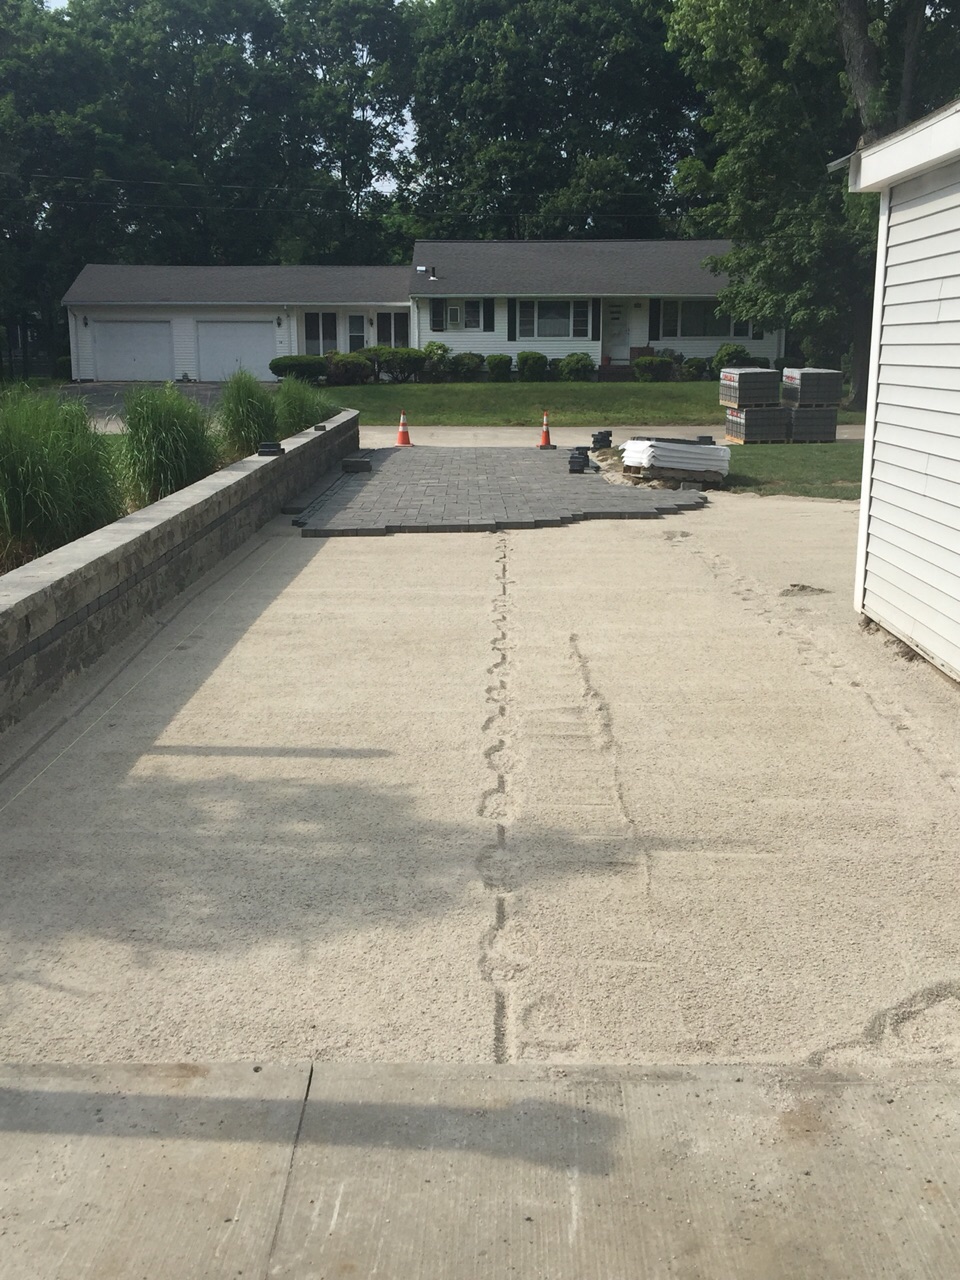
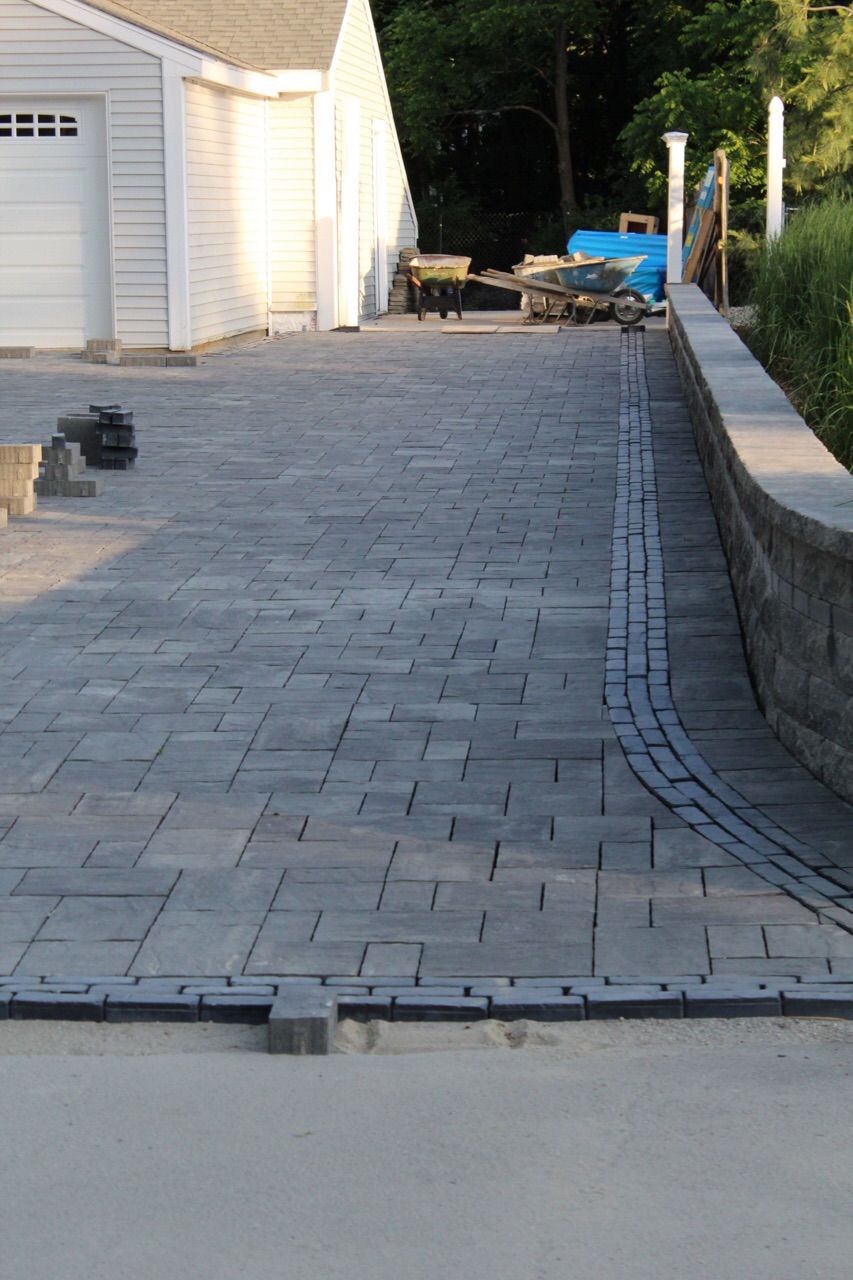
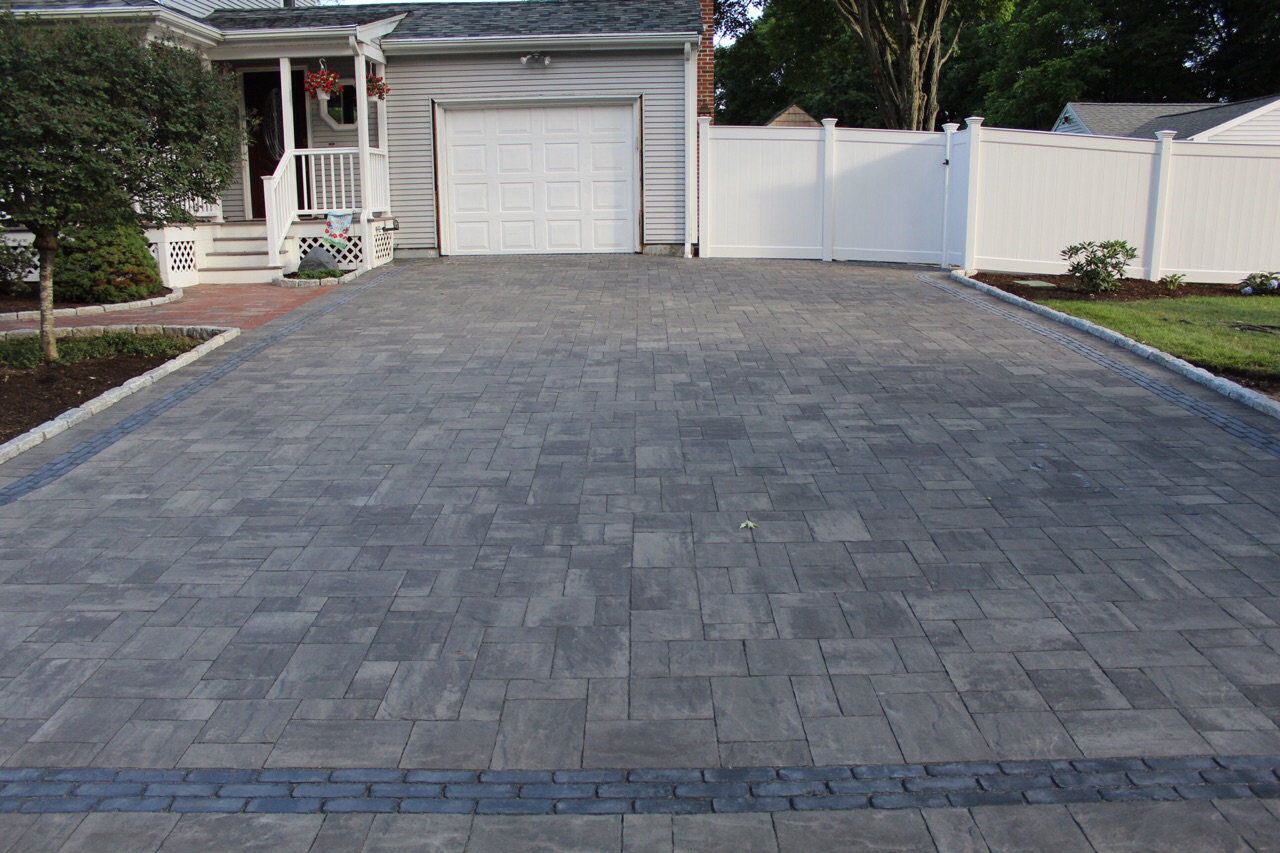
Day 6 – Cobblestone Installation Begins
The snowmelt system was covered with a perfectly graded sand layer and the cobblestones have begun being installed.
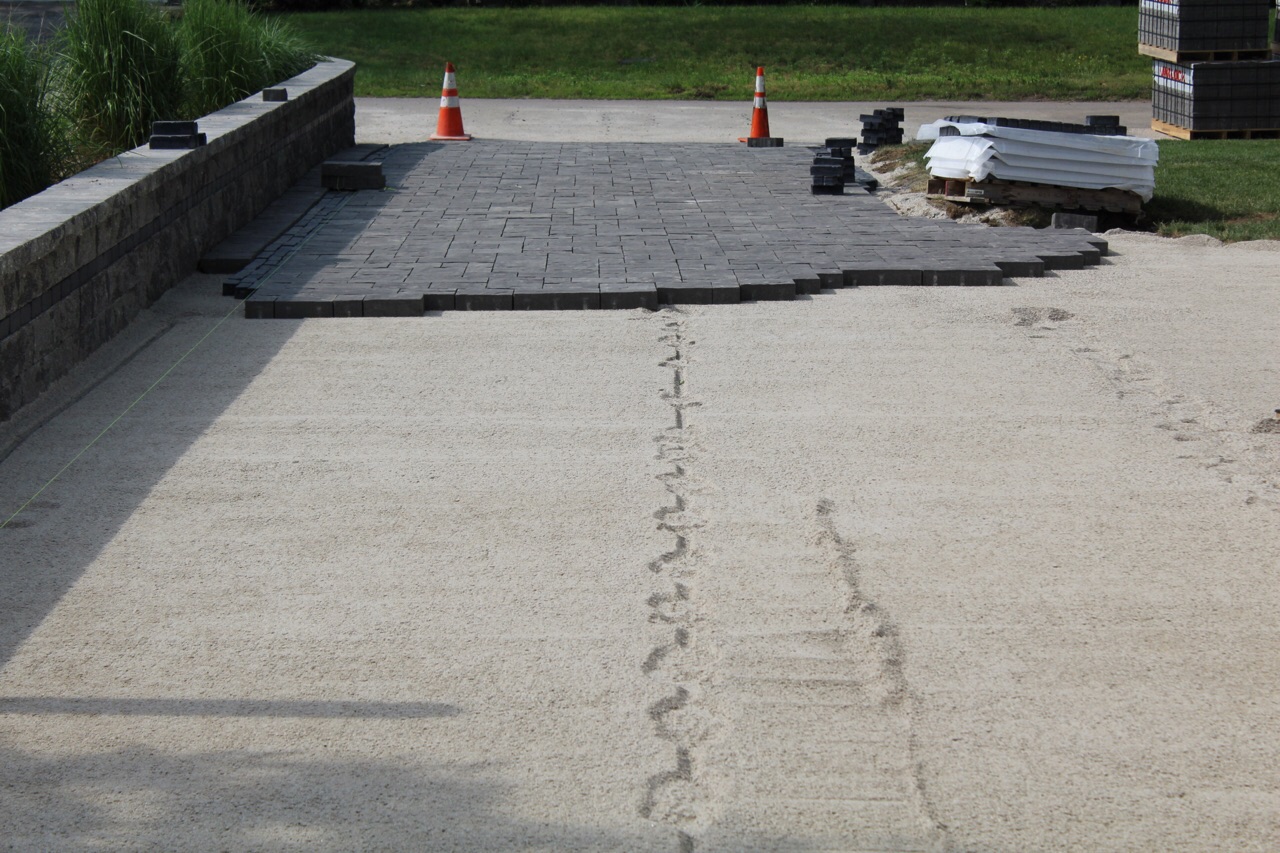
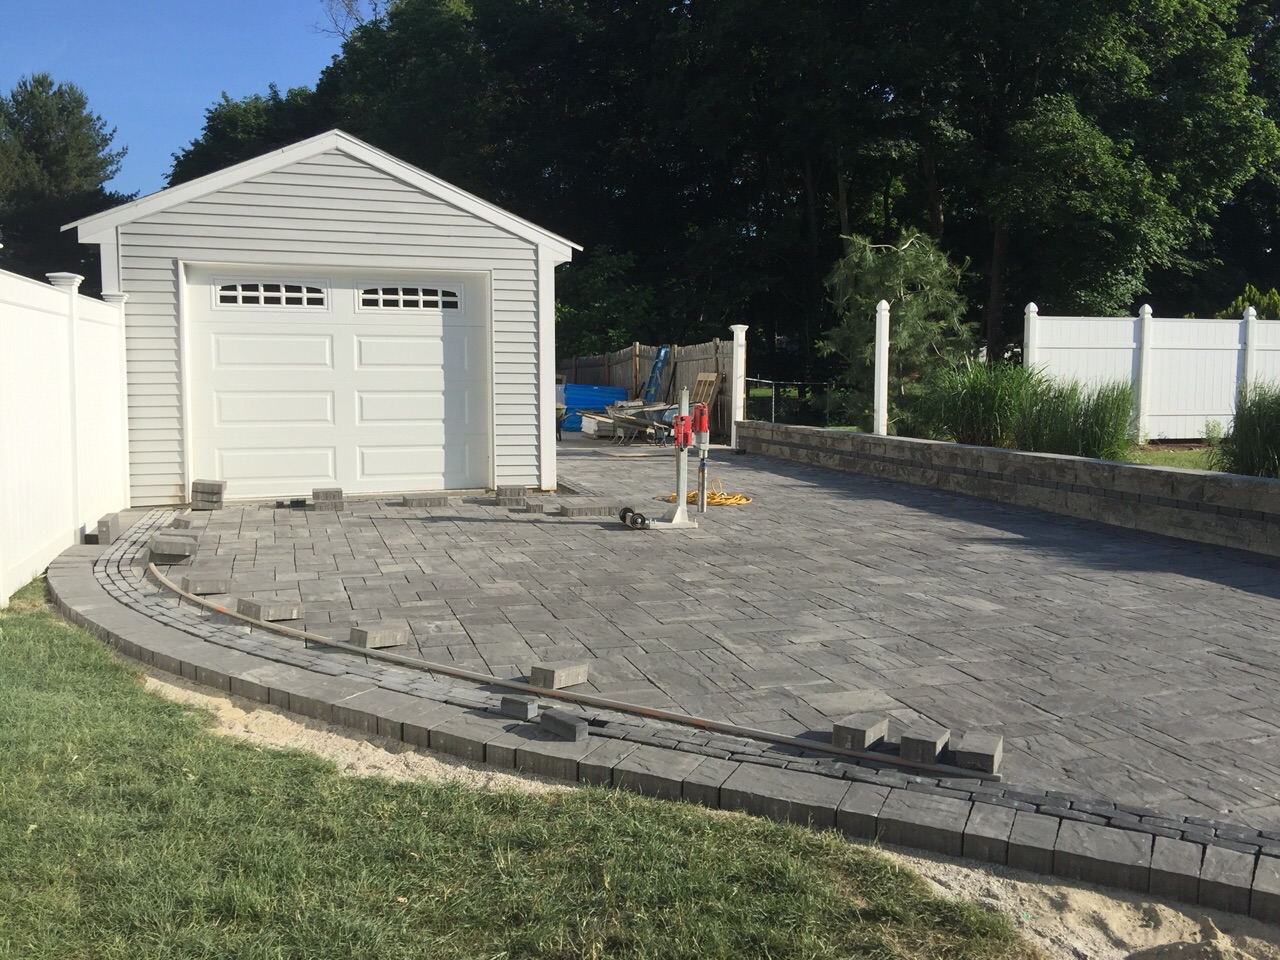
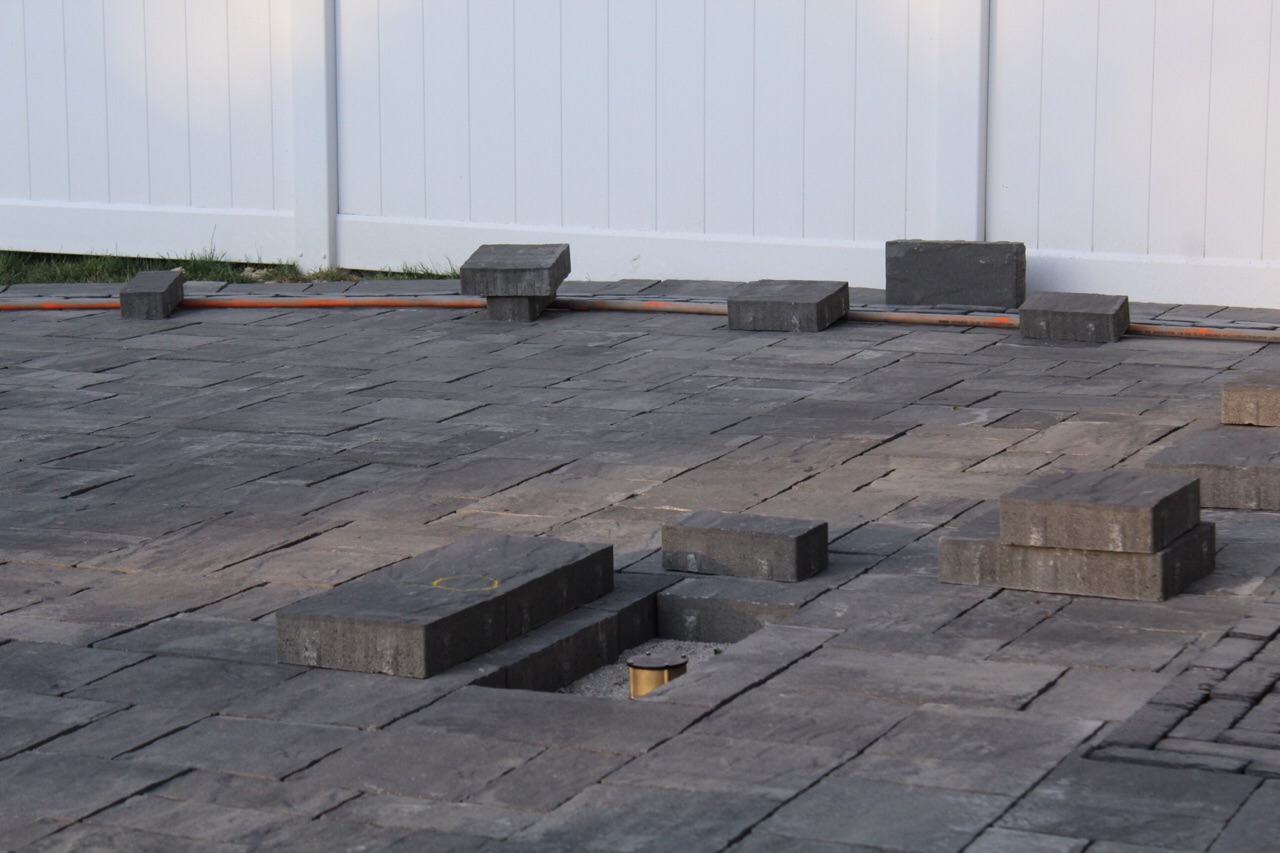
Day 7 and 8 – Cobblestone Installation Continues
Installation of cobblestones continue. We are ready to cut in the sensor housing.
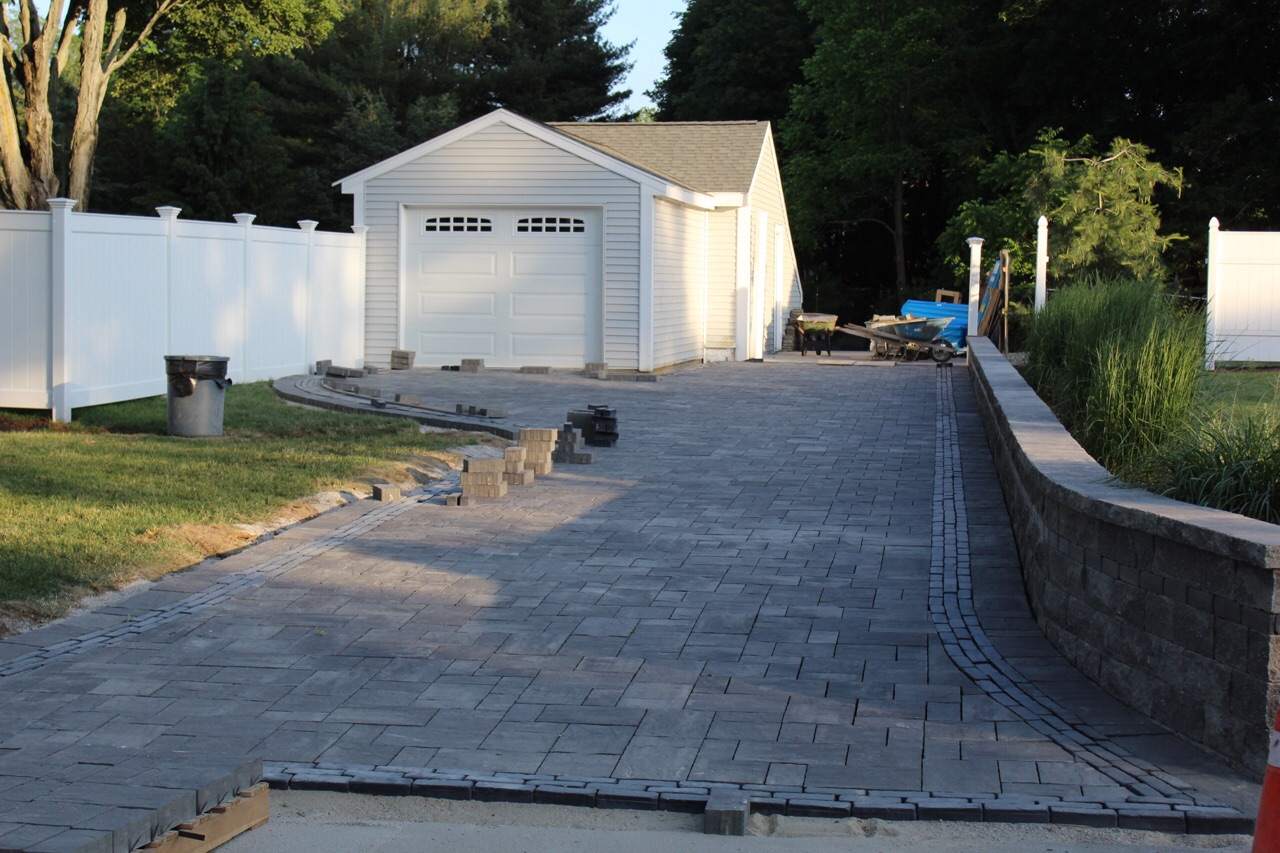
DAY 9 – Second Driveway Complete and Main Driveway In Progress
The cobblestones are all complete in the second driveway. All that is left to do is install the sensor in the housing and repair the asphalt damaged during demo.
The main driveway has been ripped out and graded. While the driveway was dug out, a 4-inch PVC line was installed to connect the gutter drain pipes to a garden at the end of the driveway. This will further assist in decreasing the amount of moisture that can freeze so that the potential for slipping and falling is minimized.
Crete Heat was installed over the graded driveway and awaits the Viega radiant tubing.

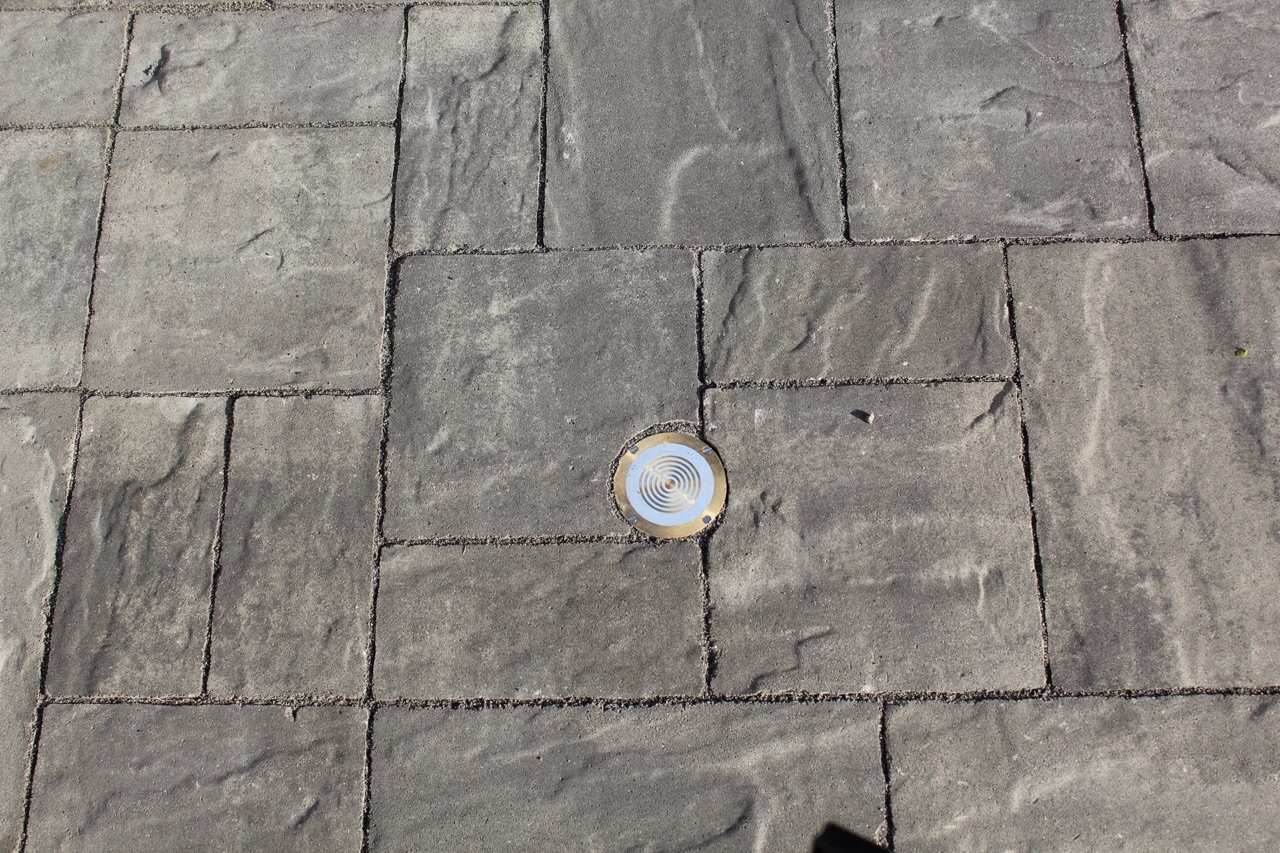
Day 10 – Tubing in Main Driveway Installed and Sensor Placed
Tubing installation, in the main driveway, was completed today and the sensor was placed.
The Viega stainless-steel manifold tie-in was completed and the system was tested to ensure pressure held. The manifold box was covered and set into the garden.

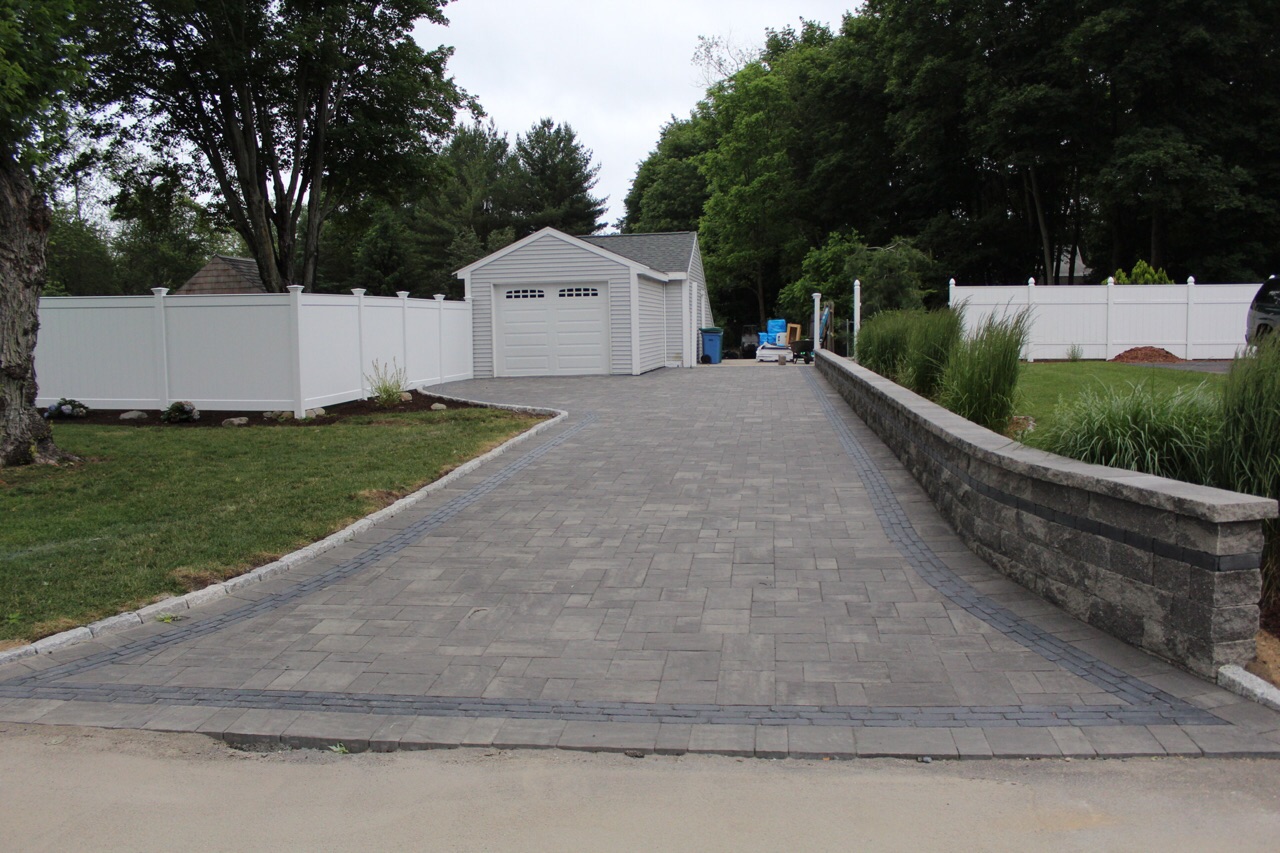
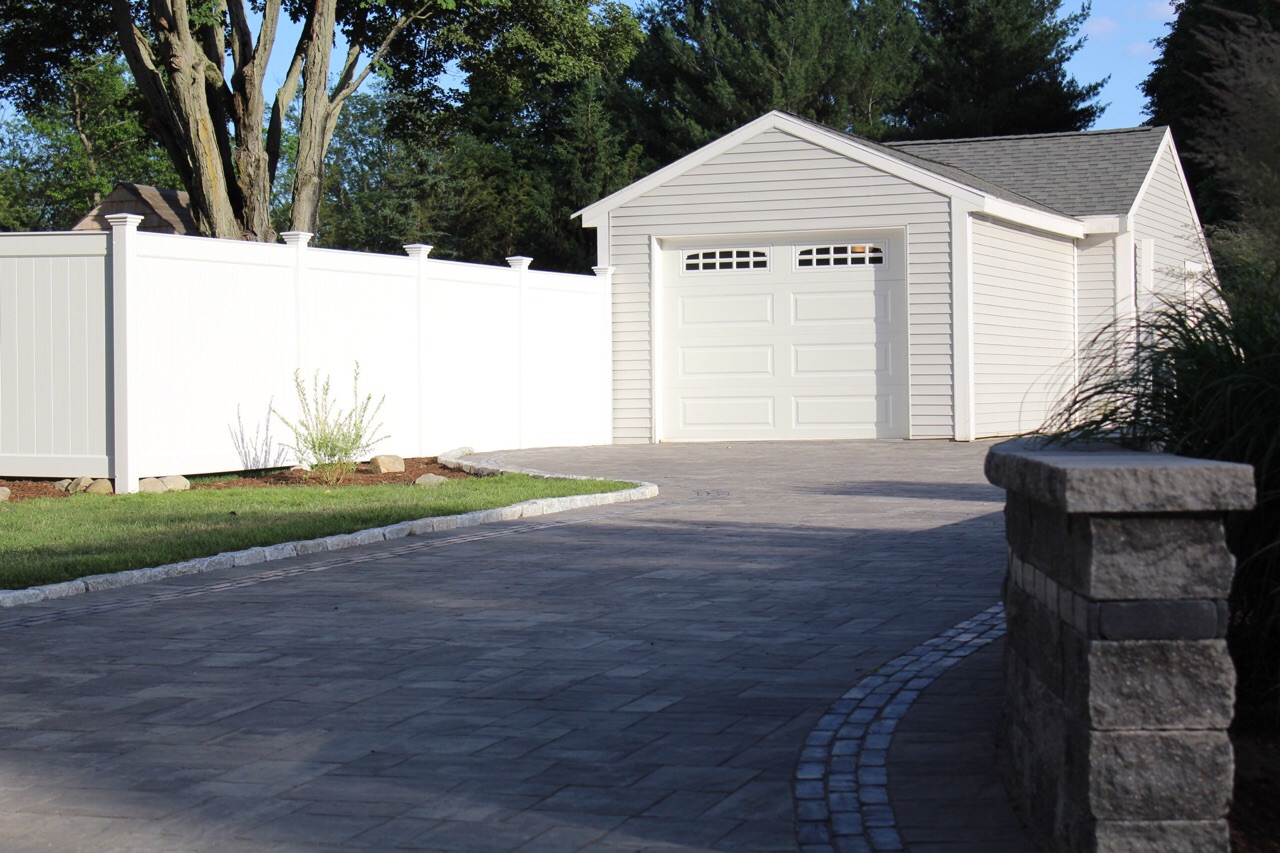
Day 11 – Driveway Work is Complete
All of the driveway work is now complete. The twin Viessmann boilers will be installed in the next few months. We will post when that portion of the project is complete.


Snowmelt Up and Running
Active Snowmelt
Blog Archives
- February 2023
- January 2023
- October 2021
- September 2021
- February 2021
- August 2020
- July 2020
- April 2020
- March 2020
- February 2020
- October 2019
- March 2018
- February 2018
- November 2017
- August 2017
- April 2017
- March 2017
- February 2017
- January 2017
- September 2016
- January 2016
- June 2015
- April 2015
- March 2015
- February 2015
- January 2015
- August 2014
- May 2014
- April 2014
- March 2014
- February 2014
- November 2013
- August 2013
- July 2013
- June 2013
- May 2013
- April 2013
- March 2013
- February 2013
- January 2013
- December 2012
- October 2012
- August 2012
- June 2012
- May 2012
- April 2012
- March 2012
- February 2012
- January 2012
- December 2011
- November 2011
- October 2011
- September 2011
- August 2011
- July 2011
- June 2011
- April 2011
- February 2011
- January 2011
